


This script creates a chain courtain using Rocky’s custom fiber model. The chain generation begins with the link dimensions and material density. Just after specifying the link dimensions, the multiple chain courtain positioning is specified. Both custom fiber shape and custom input data are filled automatically by the script. This script is designed to be run during the simulation preprocessing.
Script Details
During the simulation preprocessing, run the script.
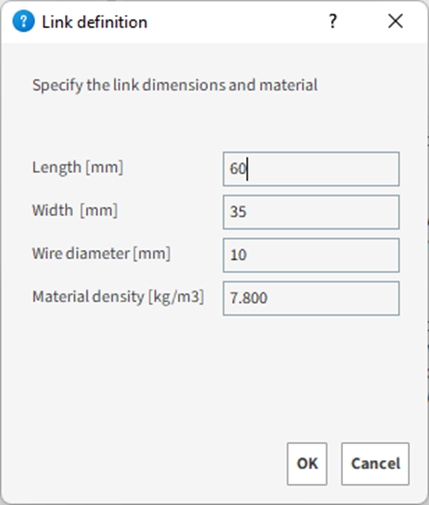
In the Length [mm] define the distance between two extremities of the link.
In the Width [mm] define the parallel distance between two extremities of the link.
In the Wire diameter [mm] define the wire diameter (thickness) of the link.
In the Material density [kg/m3] define the chain material density which will be assigned to the link.
Defining the chain courtain and its position
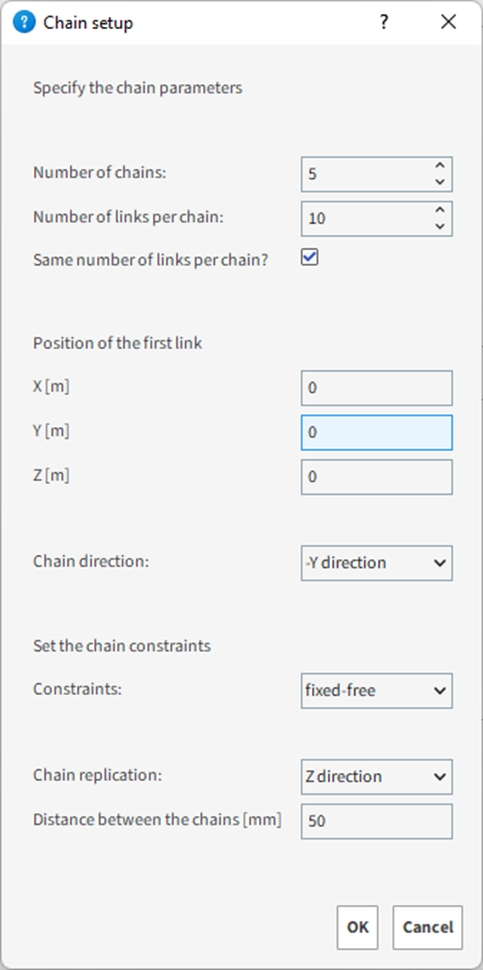
In this next window, set the total Number of chains for the chain courtain. Afterwards, set the total Number of links per chain. If the chain curtain has a constant number of links per chain, the Same number of links per chain must be kept enabled. Otherwise, the exact number of links for each chain can be defined in Figure 3.
After this, the Position of the first link is taken as a reference for further operations. Set the Global coordinates for the first link.
Selecting the Chain direction will define the direction for the link replication in the same chain.
After this, setting the Chain Constraints will define how the chain will behave: Fixed-free: The first link of each chain will be fixed in space. Fixed-fixed: The first and last link of each chain will be fixed in space. Free-free: All the links for each chain will be free in space.
Then, selecting the Chain replication direction will define the direction for multiple chain replication for the whole chain courtain and the gap between them can be defined by Distance between the chains.
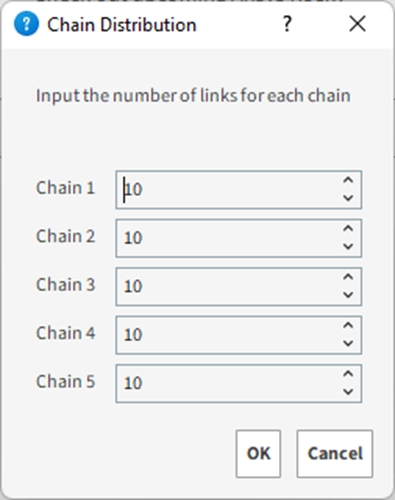
In this step, the user must set how many links each chain has. The chains are numbered in crescent order and their direction follow the same Chain replication direction defined previously.
After the chain directions and replication settings are concluded. Click OK to run the script.
This script will create the following inputs for chain generation:
Link Fixed (Particle Group):
Custom fiber: This custom fiber shape refers to all fixed links for the chain courtain. The frozen condition for the link will be true.
Link Free (Particle Group):
Custom fiber: This custom fiber shape refers to all free links for the chain courtain. The frozen condition for the link will be false.
Injection Fixed (Custom Injection):
Custom Injection (Particle Input): This particle input will provide the coordinate injection for the “Link Fixed” particle group.
Injection Free (Custom Injection):
Custom Injection (Particle Input): This particle input will provide the coordinate injection for the “Link Free” particle group.
Script Prerequisites
This script must run only on current release.
After downloading and extracting the attached .zip file, the included py file must be saved to your Scripts folder, which is inside your Rocky folder.
On Windows, this folder is located at C:\Users\YOURUSERNAME\Documents\Rocky\Scripts.
On Linux, this folder is located at /home/YOURUSERNAME/.Rocky/scripts.
• The script has to be run before running the simulation.
Tip: To modify this script to better match your own project needs, open the .py file in a Python Editor, such as Visual Studio Code, and then use the information in the PrePost Scripting Manual to adjust the parameters and settings to your needs.