


Manage Projects
From the Workspace, you can open or create projects to manage all the data and resources associated with the project.
Creating Projects or Opening Projects
When creating or opening a project in Scade One, it is added to the Workspace.
You can create or open a project from:
- the Welcome page when starting Scade One
- the menu
- the Workspace view
When opening a project that has dependencies, these dependencies are also loaded in the Workspace.
Adding Project Dependencies
You can add dependencies to a project and use all the data from these projects (modules and their content, jobs, resources).
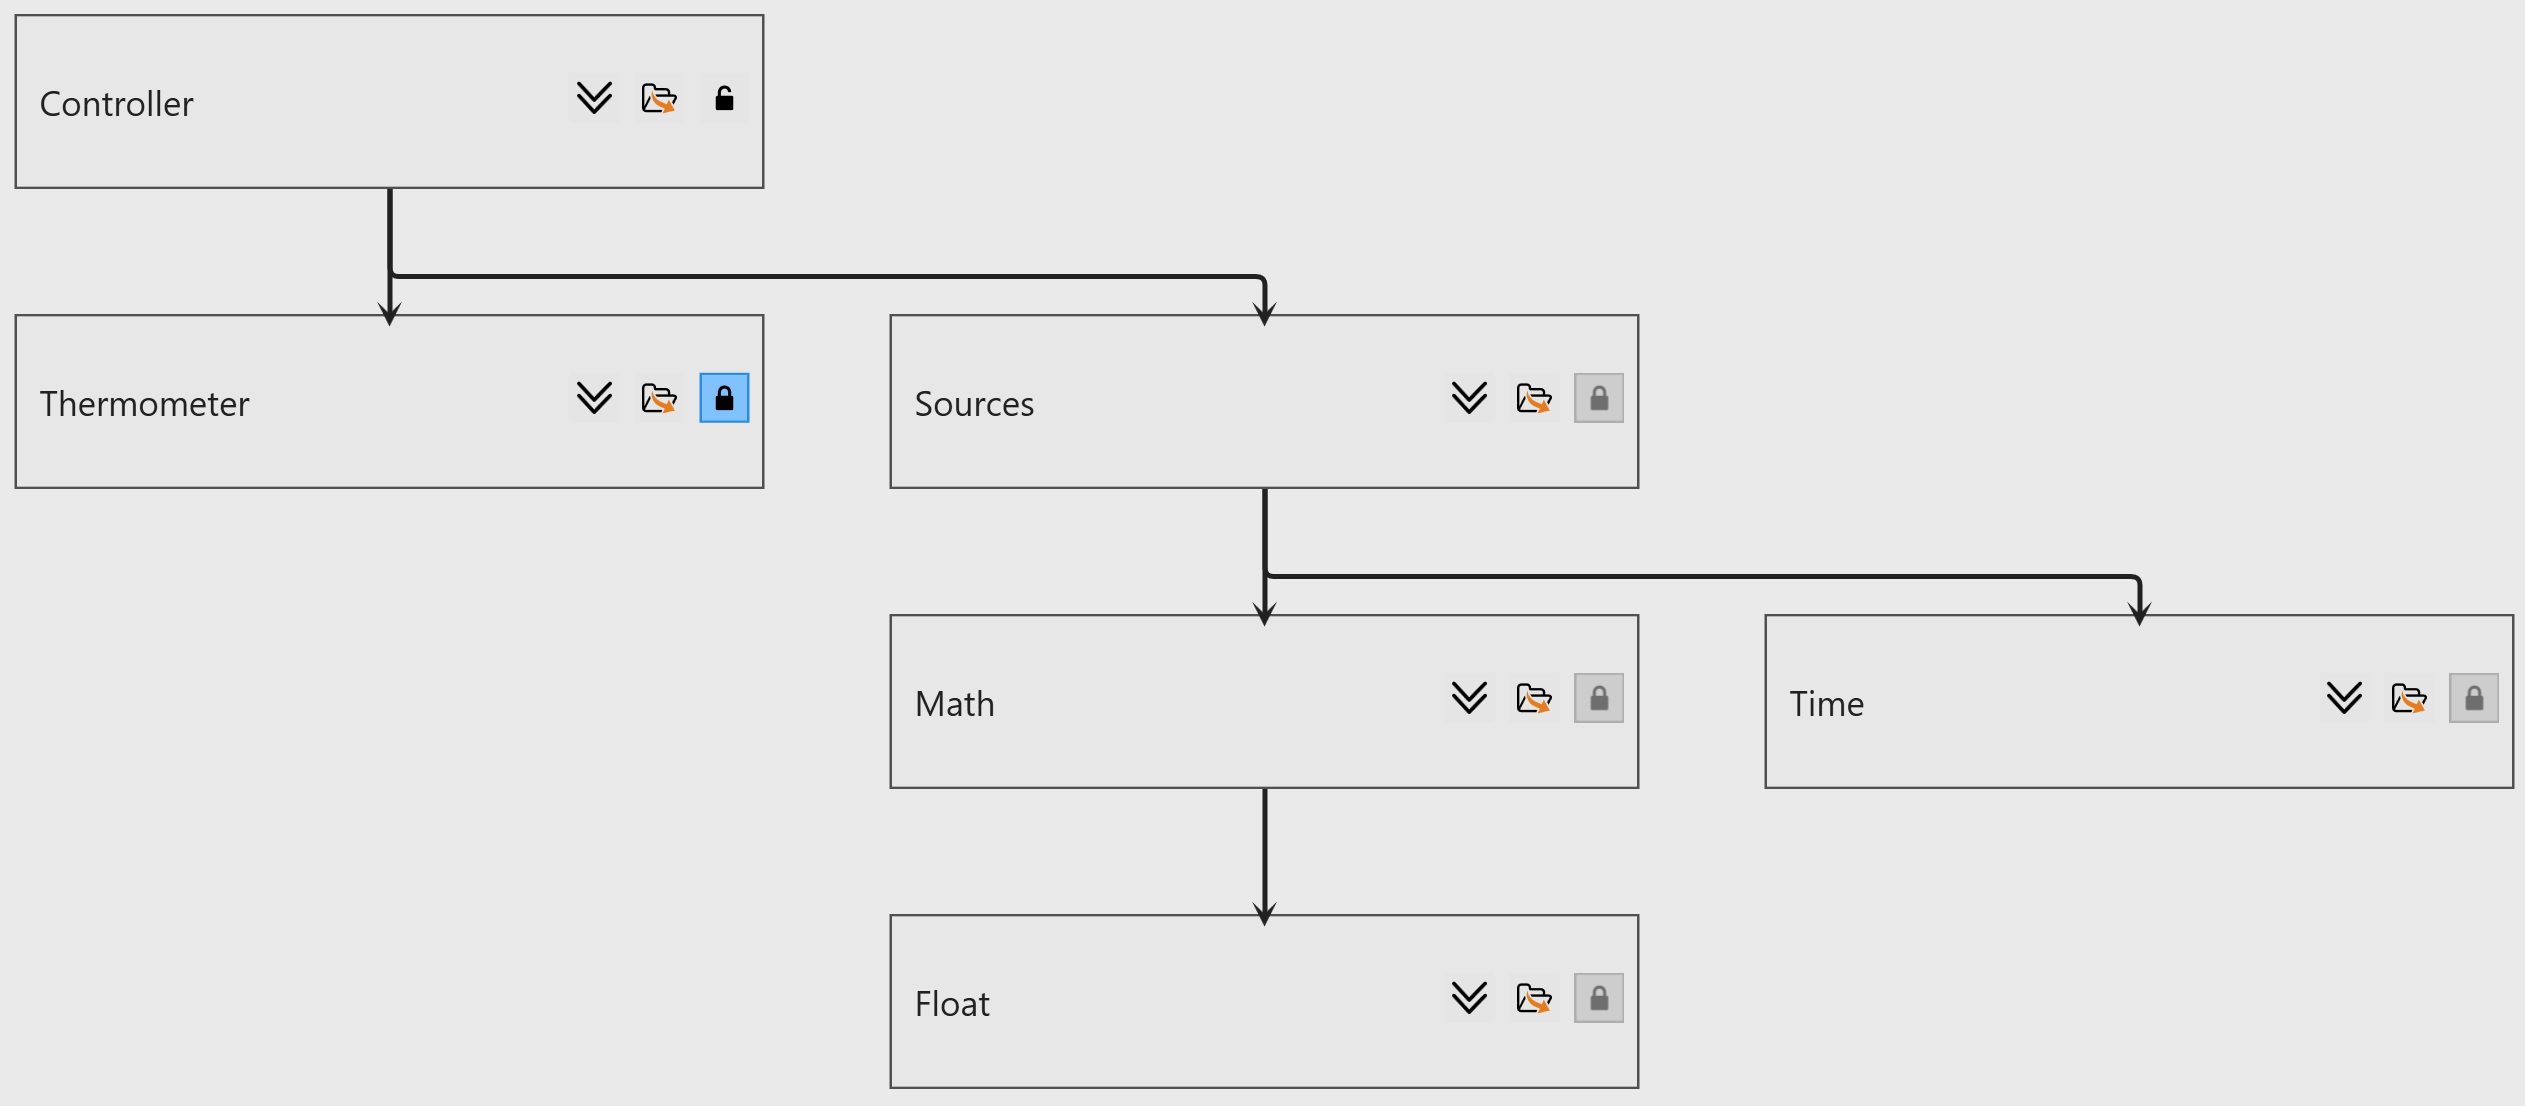
- Open the project that you want to define as a dependency next to the parent project.
- In the Workspace, create a link using the drag and drop method from an edge of the parent project to the dependency.
The added dependency can be used with a Use directive containing the function to be used. For more explanations, see Modules and Namespaces.
To remove a dependency, select the link between both projects and press Delete.
Cut/Copy/Paste Assets and Jobs
In the Workspace view, you have the ability to perform cut, copy, and paste operations on both assets and jobs. These are accessible under the Assets and Jobs tabs within a project block respectively. Additionally, these operations can also be performed on jobs via the Jobs Explorer.
You can carry out these actions across different projects with the following considerations:
- When a job is pasted, only its description is duplicated. Any generated assets associated with the job, such as C code or simulation data, are not replicated.
- If the source and target projects differ, the inputs of the job are not retained upon pasting.
Navigating from Project to Assets and Jobs
You can quickly locate project data from a project block.
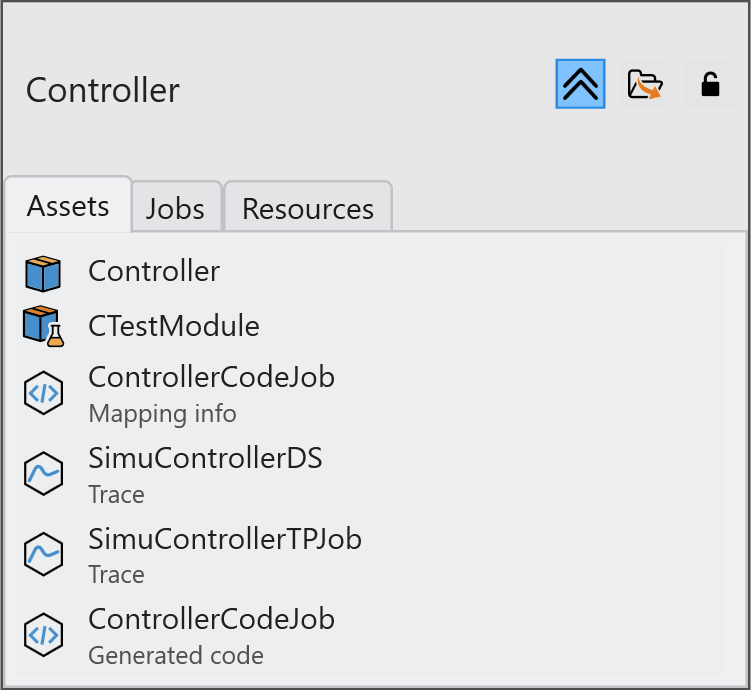
- Under the Assets tab:
- Double-click a module to locate it in the Model Explorer.
- Double-click a generated asset to show the file in a folder.
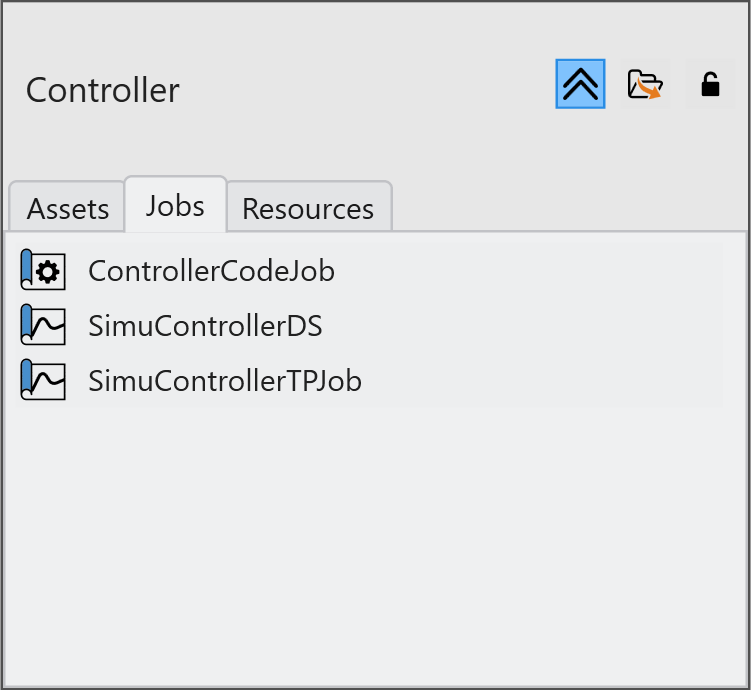
- Under the Jobs tab, double-click a job to locate it in
the Job Graph.
- Under the Resources tab, double-click a simulation data
to open it in the Signal Editor.

Adding Resources to Projects
You can add external files to a project as resources to be used by the simulator.
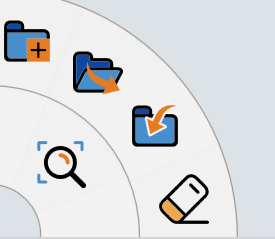
- Click
 to expand the content of a project
block and select the Resources tab.
to expand the content of a project
block and select the Resources tab. - Click
 to open the
Resource window.
to open the
Resource window. 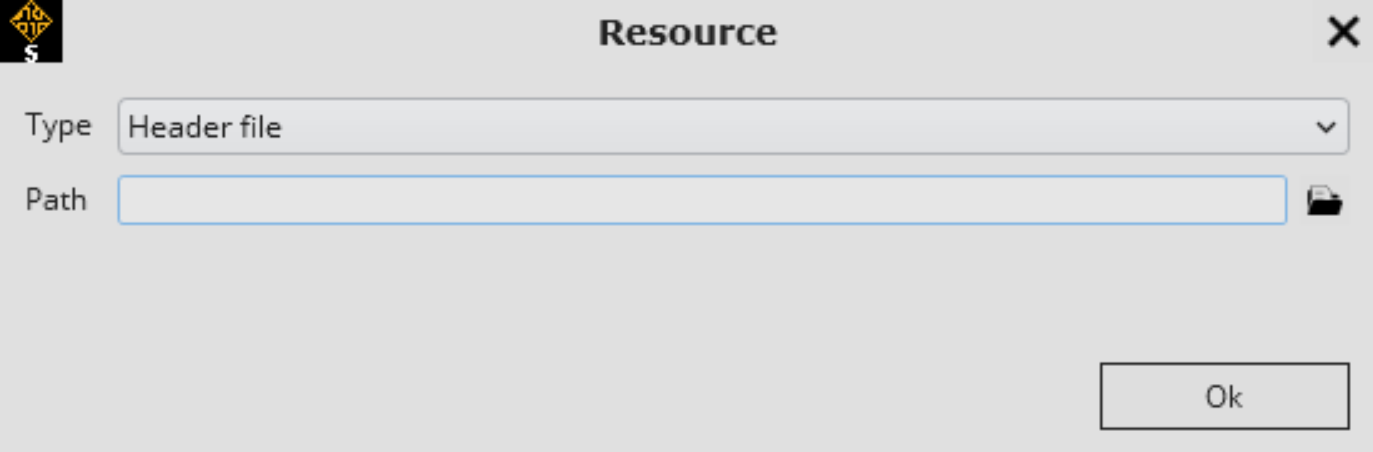
- Select a resource type and specify the file path:
- For header files, select the
.h file containing:
- declarations of imported types and associated functions
- macros used in the generated code
- For imported code, select the
.c file containing:
- definitions of imported operator functions
- definitions of imported type functions
- definitions of imported constants
- For simulation data, select the .sd file containing sequences of I/O flow values. and specify the key (for later reference in a data source block in a test harness).
- For header files, select the
.h file containing:
Making Projects Read-Only
In the Workspace, click  in a project.
Removing Projects from the Workspace
- Select the project (hold Ctrl for multi-selection)
and click
 or press
Delete.
or press
Delete. - A project that is defined as a dependency cannot be removed. Remove the dependency link first.
- Click to completely clear the workspace
(no undo).