
Adding Text Edits to a Component Dialog Box
Text edits are control elements used for entering information to a model via its component dialog box. Use text edits to enter the name of an instance of a model, to enter values into nonconservative input nodes, and to enter free values. For more information on free values, see Determining a Nonconservative Input Node's Value Using Free Values.
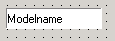
The following is an example of a text edit as it appears in the Component Dialog Wizard:
To create a text edit for entering a model instance name:
- Select Controls > Edit from the Component Dialog Wizard menu bar.
- Click the component dialog box to place the text edit.
- Drag the text edit to its desired location in the component dialog box.
- Resize the text edit to its desired height and width.
- Right-click the text edit.
The Properties
dialog box opens.
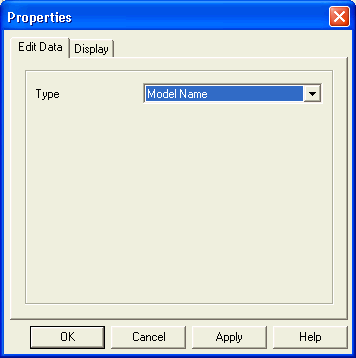
- Select Type > Model Name on the Edit Data tab.
- Click OK.
To create a text edit for entering a value into a nonconservative input:
- Select Controls > Edit from the Component Dialog Wizard menu bar.
- Click in the component dialog box to place the text edit.
- Drag the text edit to its desired location in the component dialog box.
- Resize the text edit to its desired height and width.
- Right-click the text edit and select Properties.The Properties
dialog box opens.
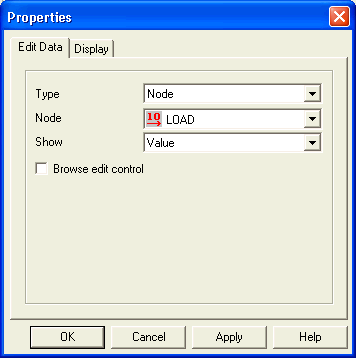
- Select Type > Node on the Edit Data tab.
- Select the name of the desired node from the Node list.
- Select Show > Value to enter a numerical value through the component dialog box, or select Information to enter other information.
- Select the Browse edit control check box to enter a file name.
- Click OK.
To create a text edit for entering a free value:
- Select Controls > Edit from the Component Dialog Wizard menu bar.
- Click in the component dialog box to place the text edit.
- Drag the text edit to its desired location in the component dialog box.
- Resize the text edit to its desired height and width.
- Right-click the text edit and select Properties.
The Properties
dialog box opens.
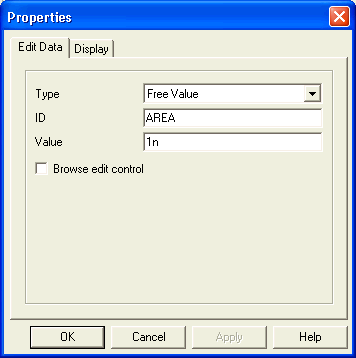
- Select Type > Free Value from the Edit Data tab.
- In the ID
field, type a valid node name for the free value.
Note:
Valid node names must start with a letter or underscore, and may contain any combination of uppercase and lowercase letters (A-Z, a-z), the numerals 0 through 9, and underscores.
- Type a default value for the free value in the Value field.
- Select the Browse edit control check box to enter a file name.
- Click OK.