
Creating Maxwell Designs Using PEmag
To create a Maxwell design using PEmag:
- Select Tools > PEmag to launch the PEmag desktop application.
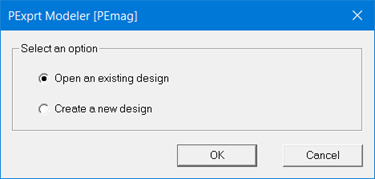
- In PEmag, choose either to Open an existing design, or to Create a new design.
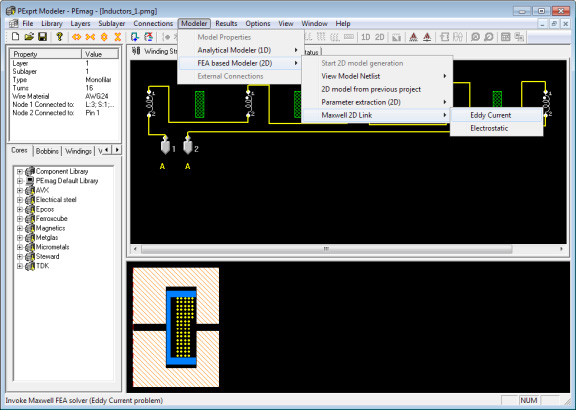
- When finished creating the PEmag design, you can choose either Modeler > FEA based Modeler(2D) > Maxwell 2D Link > Eddy Current or Modeler > FEA based Modeler(2D) > Maxwell 2D Link > Electrostatic to have PEmag generate a corresponding design for Maxwell.
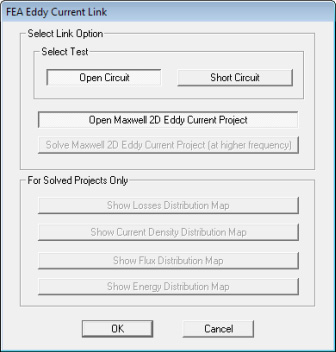
- If you choose Modeler > FEA
based Modeler(2D) > Maxwell 2D Link > Eddy Current,
a window similar to the following displays.
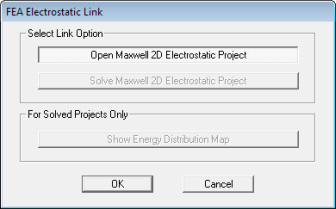
- If you choose Modeler > FEA based Modeler(2D) > Maxwell 2D Link > Electrostatic,
a window similar to the following displays.
- Click OK to close the dialog box. PEmag generates a Maxwell 2D design and adds it to the Maxwell Project Manager and desktop. The new design is created corresponding to the PEmag model. The project is immediately saved on disk with the name, <PEmag project name>.aedt, in a new folder named <PEmag project name>.pjt, which is under the same directory as the PEmag project.
You can also click on the FEA
Eddy Current  or FEA Electrostatic
  toolbar icons.
Note:
- Adding a Maxwell 2D design via PEmag cannot be undone.
- After a Maxwell design is created through PEmag, attempting to close Maxwell while PEmag is still open displays a message to inform that the Maxwell desktop cannot be closed while PEmag is still open.