
Exporting Animations
You can export animations from the Animation control dialog, or, for Ensight format, from the Select Animation dialog.
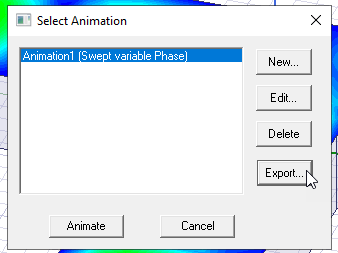
Exporting Ensight from the Select Animation Dialog
-
Create the animation you want to export.
-
In the Select Animation dialog, select Export...
- This opens the Browser window.

Navigate to the desired location and provide a file name. The format will be Ensight .case files.
-
When you select Save, the Ensight Case File Options dialog opens.

The binary option permits a more compact and efficient animation creation process in Ensight. The Single File options leverages the Ensight transient dataset capability to export all frames of field/geometry data to a single case file. On OK, every visible and animatable field plot should generate a case file with name in the format of “UserTypedName_fieldPlotName.case”
Exporting from the Animation Control Dialog
- Create the animation you want to export.
- In the play panel, click Export....

The Export File dialog box appears.

- Specify the directory to Save in, the File name, and use the Save as type drop-down
menu to select Animated GIF File (.gif), AVI File (.avi), or WebM File (.webm).
The Animation Options dialog box appears.

- To replace colors in the file with 256 shades of gray, select Grayscale.
Grayscale animations tend to use less memory than full color animations.
- For AVI format export, specify the Compression factor (the default is 85) and one of the following
Compression types:
- INTEL Indeo
- Cinepak
- Microsoft Video 1
- None
- For GIF format export, specify the number of loops. The default "0" denotes infinite loops.
- Click OK to close the Animation Options dialog box.
The animation is exported to the file format you specified.