


Creating a Project Space
Tenant administrators can create project spaces for users to access. Each project space is scoped to a specific AWS region.
To create a project space:
On the Ansys Gateway powered by AWS home page, select .
Specify the project space settings:
Name your project space. This should be a meaningful name that will help users quickly find the project space and determine if it is suitable for their needs. For example, the name might indicate the intended purpose of the project space, key information about the types of resources it contains, or the intended user base.
Choose a region. The AWS region in which resources will be deployed.
Tags. If required tags are displayed, specify their values. For example:

Tag availability depends on whether Project space tags have been defined on the Administration > Tags page. For more information see Tags.
In the Additional settings section, specify the default values for virtual desktop timers. Timers can be changed for individual virtual desktops after the virtual desktops are created.
Stop virtual desktop when no user has been signed in to the machine for. The maximum number of minutes that the virtual desktop can remain running when no user is signed in to the machine. (When a user connects to a virtual desktop, they are signed in to the machine so that they can use it.)
This timer is activated when no users are listed on the Users tab in the virtual desktop details. When the user list has been empty for the specified period of time, the virtual machine is stopped.
Note that users remain signed in to a virtual machine after disconnecting from a session unless the Sign out user who has been offline for timer is set.
Stop virtual desktop when no user has been connected to it for. The maximum number of minutes that the virtual desktop can remain running after all users have disconnected from it. (A user disconnects from the virtual desktop by closing their virtual desktop session.)
This timer is activated when every user listed on the Users tab in the virtual desktop details has a status of 'Disconnected'. When the list has been in this state for the specified period of time, the virtual desktop is stopped.
Sign out user who has been offline for. Signs a user out of the virtual machine after a specified period of inactivity (plus an added 2 minutes of courtesy time provided by Windows).
Note: A shutdown timer stops a Running resource, causing it to become Stopped. Resources in the Stopped state do not incur charges except for the underlying storage cost. Stopped resources can be started again.Click Create project space. The project space is created and is ready to be configured. For example:
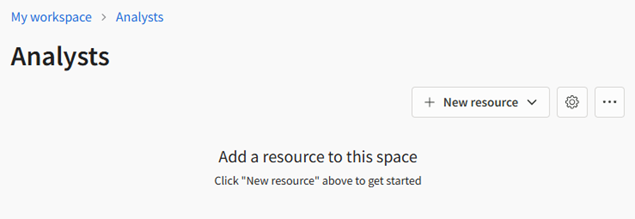
Next steps:
Assign 'Admin' permission to a selected user to make them the Project Space Administrator. See Setting User Permissions in a Project Space.
You or the Project Space Administrator can add resources such as virtual desktops to the project space. See Creating a Virtual Desktop.