


Step 1: Create a Virtual Machine with Shared NFS Storage
This virtual machine will be used as the Login Node.
-
In the project space view, select .
-
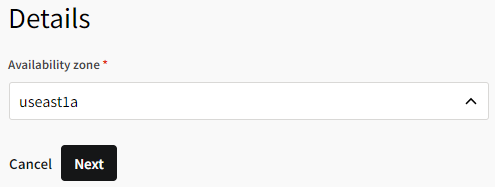
Select the availability zone where the file storage server will be provisioned. To ensure the fastest data transfer speeds, select a zone that is in the same region where the cluster will be provisioned.
Select the Linux platform and select a Linux operating system image.
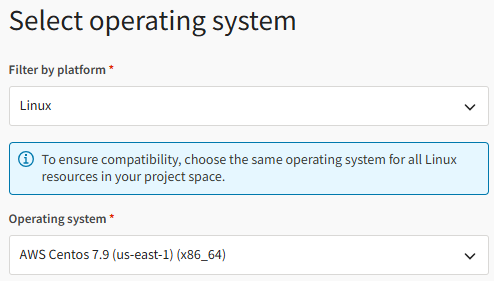 Note: If using a CentOS image, see Important Notes About CentOS Linux Images in the Administration Guide.
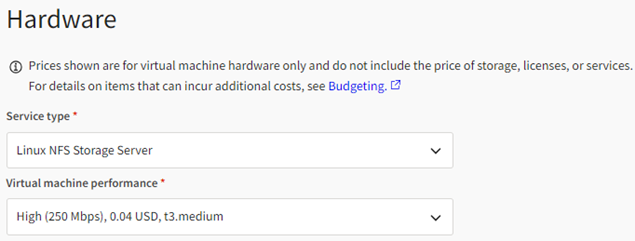
Select the desired virtual machine performance.
Define the desired disk configuration. Multiple storage directories can be added to a single file storage server.
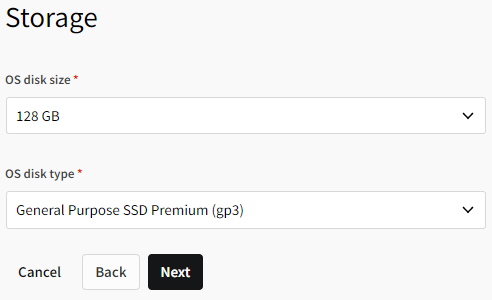
Note that pricing varies for different disk configurations. To learn more about disk types, go to https://docs.aws.amazon.com/AWSEC2/latest/UserGuide/ebs-volume-types.html.
If tags are available, specify their values. Otherwise, click Next.
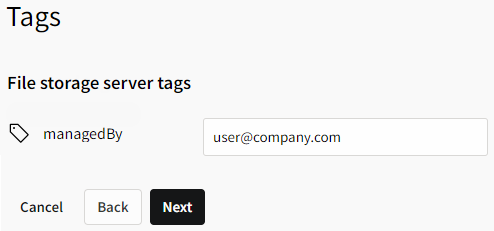
For more information about tagging, see Tags in the Administration Guide.
-
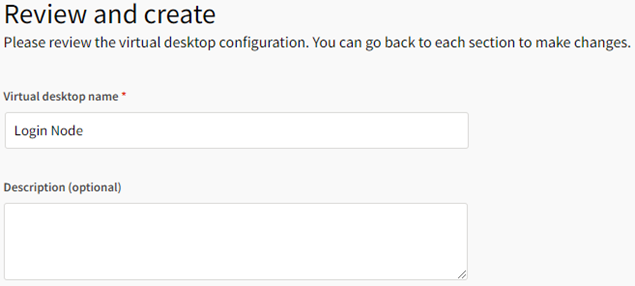
Specify a name and optionally a description for the file storage server.
-
Review your configuration. If the settings are satisfactory, click Create file storage server. Setup of the resource starts.
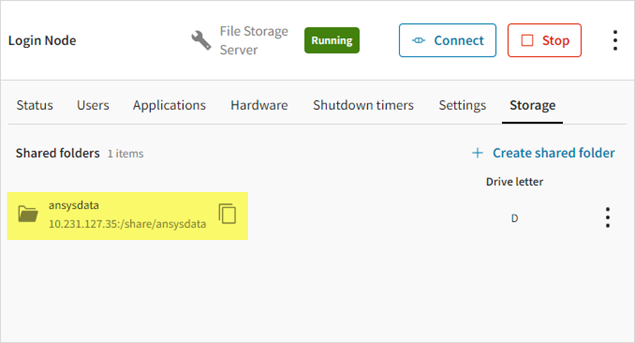
When the file storage server is in the Running state, make sure that you see the Connect button displayed.
Click the file storage server to display its details, then select the Storage tab.
On the Storage tab, click Create shared folder.

-
Specify a name for the shared folder and assign it a drive letter. If multiple users will be using the same project space, specify a meaningful name that your target users will recognize.
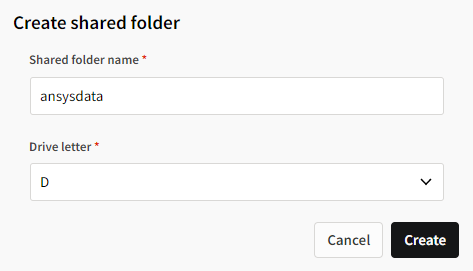
Click Create. The folder is added to the file storage server.
This shared folder will be the shared drive where speoshpc is installed and where .speos files will be located.
Copy the path of the shared folder (to Notepad, for example). You will need it in an upcoming step.