Purpose:
Use initial volume filling technique to fill the ALE materials into the mesh.
The initial volume filling feature is of great importance. It eliminates the needs to explicitly mesh each AMMG in the ALE domain. It can be an awkward and time consuming task even for simple geometries such as cylinder or sphere. For complex geometrys, the part/segment set geometry options can be used to fill the initial volumes.
Files Required:
5_5_2_App_ALE_2.zip: Download
Setup Group/Part, Material Set as "Explosion Under Water" did. Except no part added for Group "HE" and "Air".
Setup Simulation Control and IC/BC as "Explosion Under Water" did. Except for the Detonation Tab, Select Part 10 as ALE Mesh Parts.
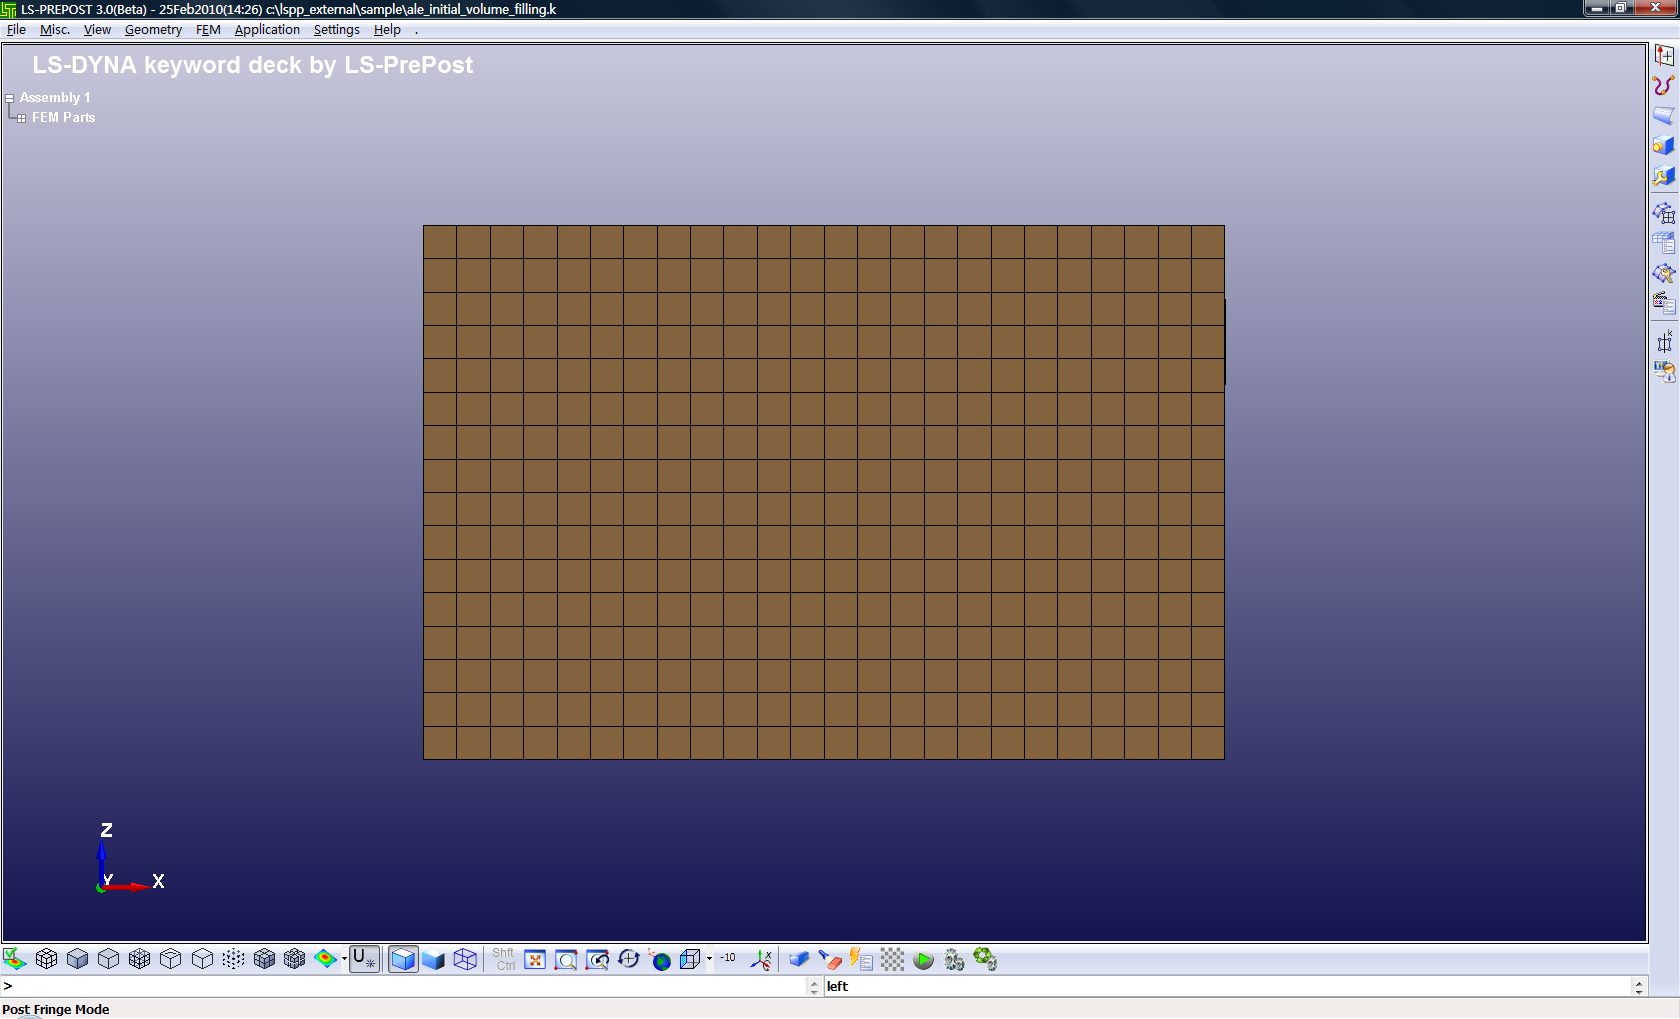
Now, you have a fully run-able ALE input deck. But running it doesn't make any sense as the whole ALE domain is fully occupied by water. There is no HE or Air in the model. You must fill in the Air and HE.
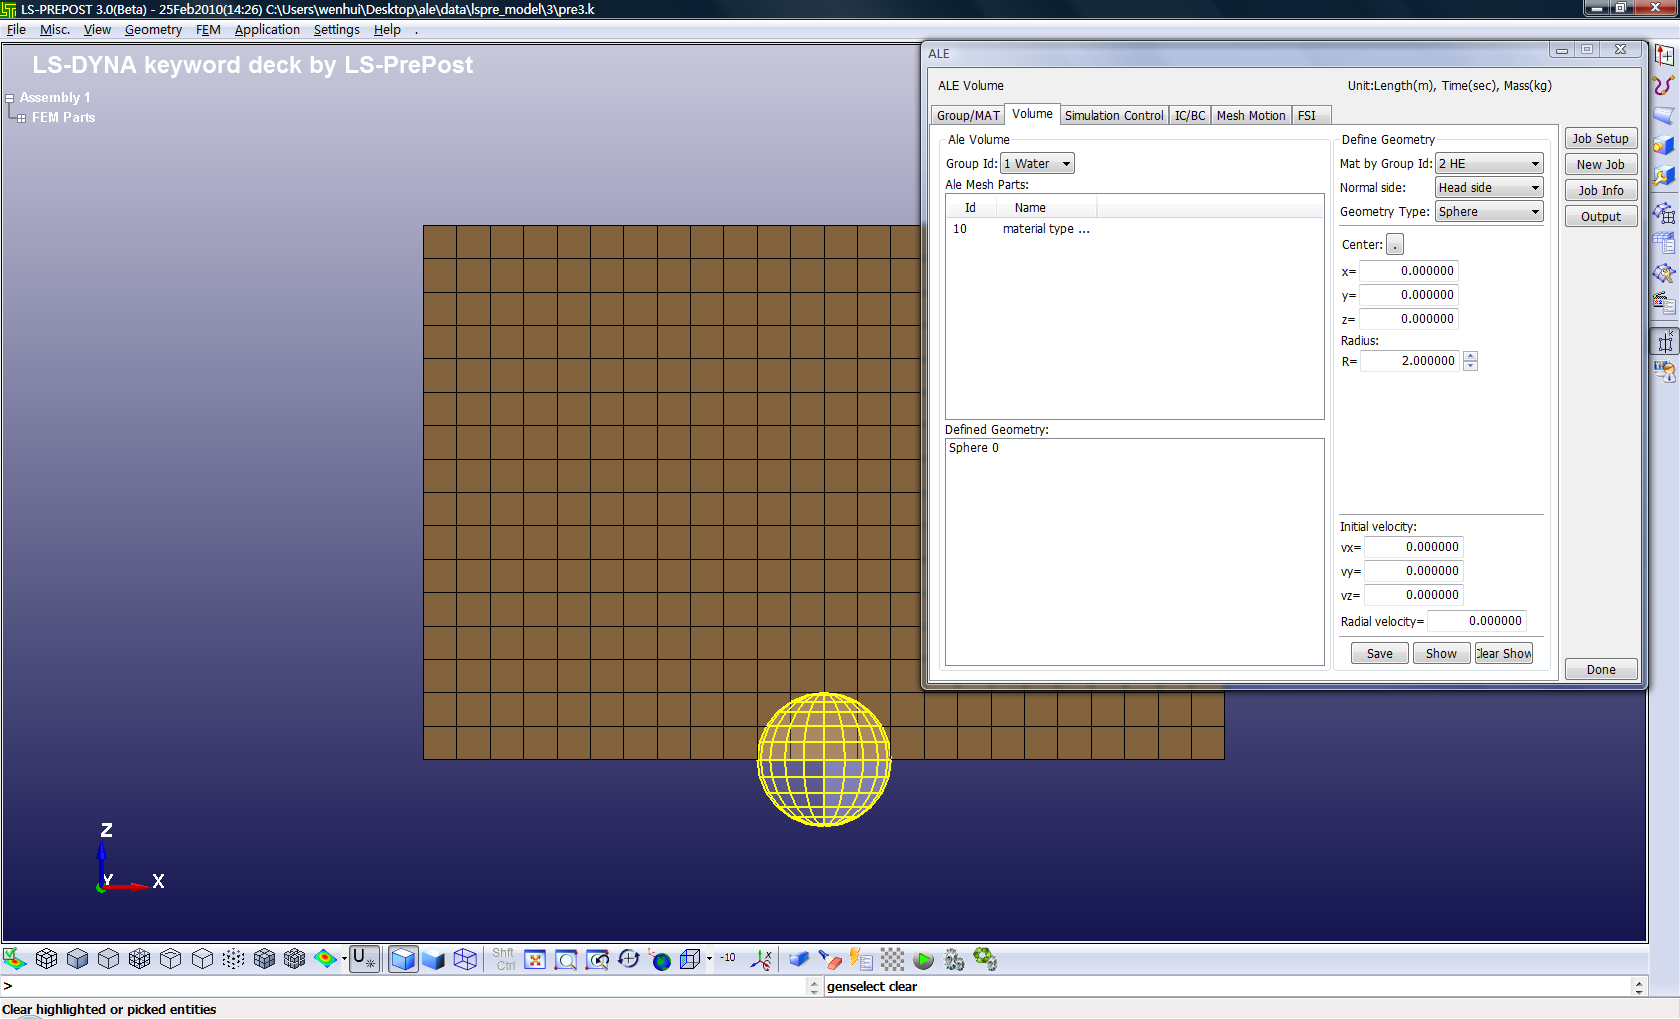
Switch Volume Tab.
Select Group ID: "1 Water"on the left side.
Select Mat by Group Id: "2 HE" on the right side.
Right Mouse Menu to Pick Part or Add Part to add part 10 to Ale Mesh Parts list.
Select Geometry Type: "Sphere".
Set R=2.0.
Save.
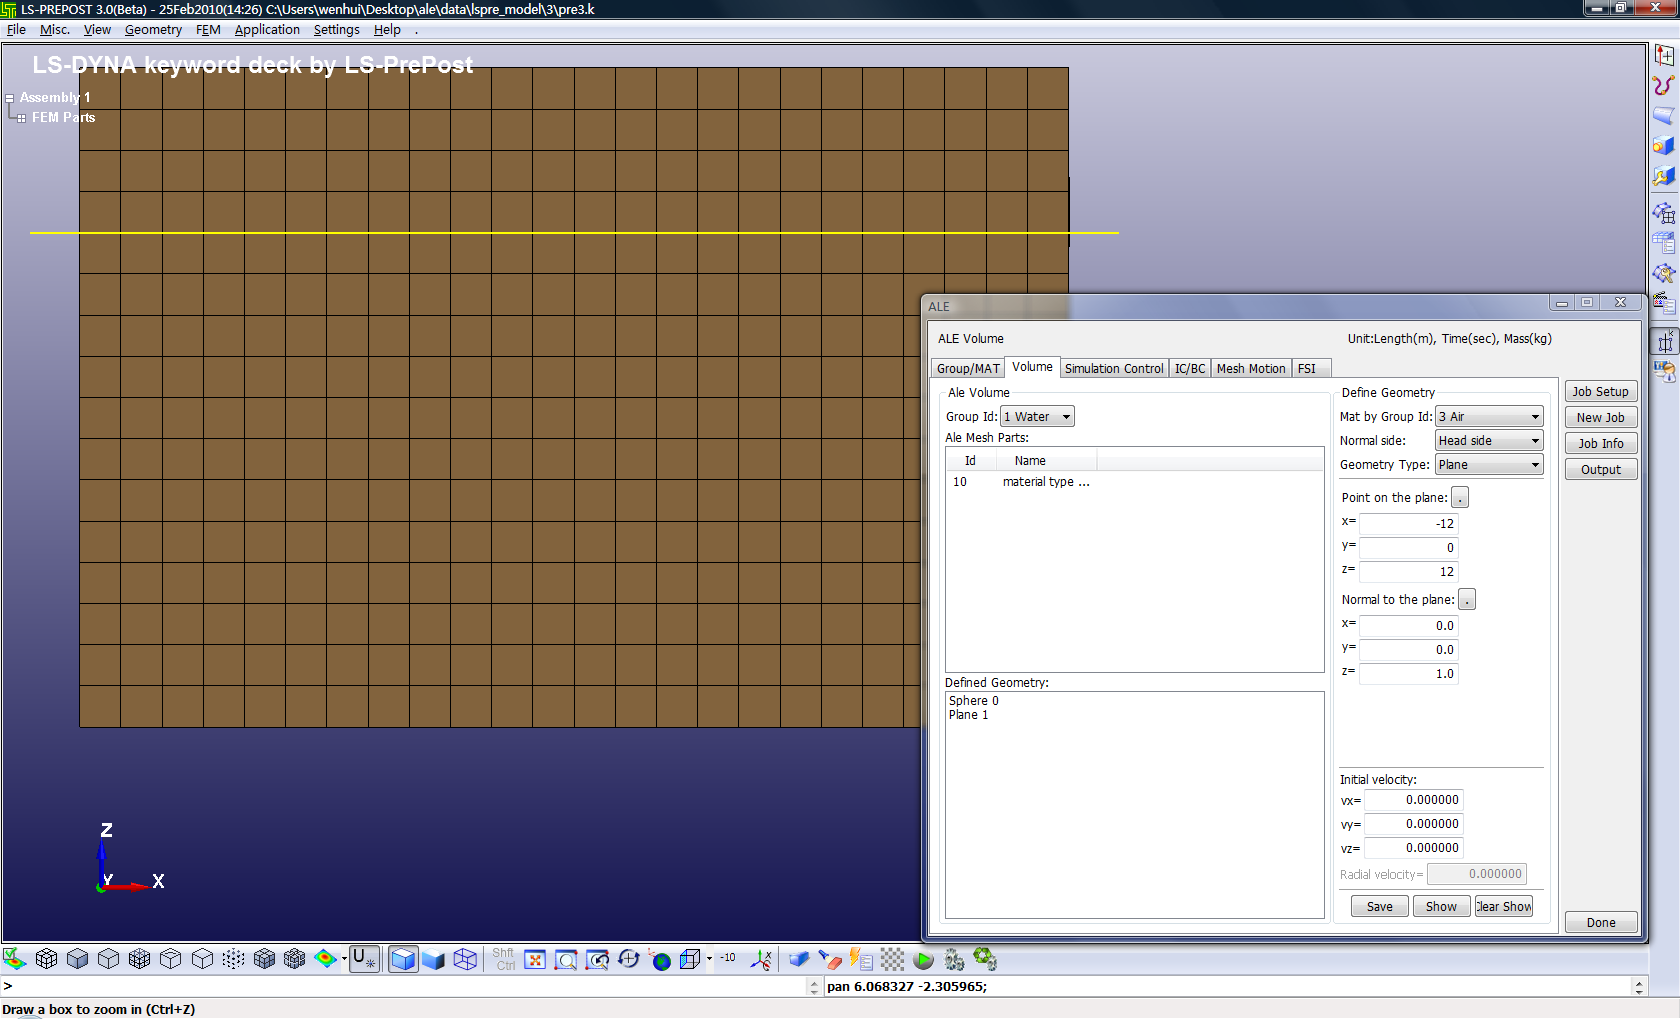
Select Mat by Group Id: "3 Air".
Select Geometry Type: "Plane".
Set Point On Plane as (-12, 0, 12).
Save.
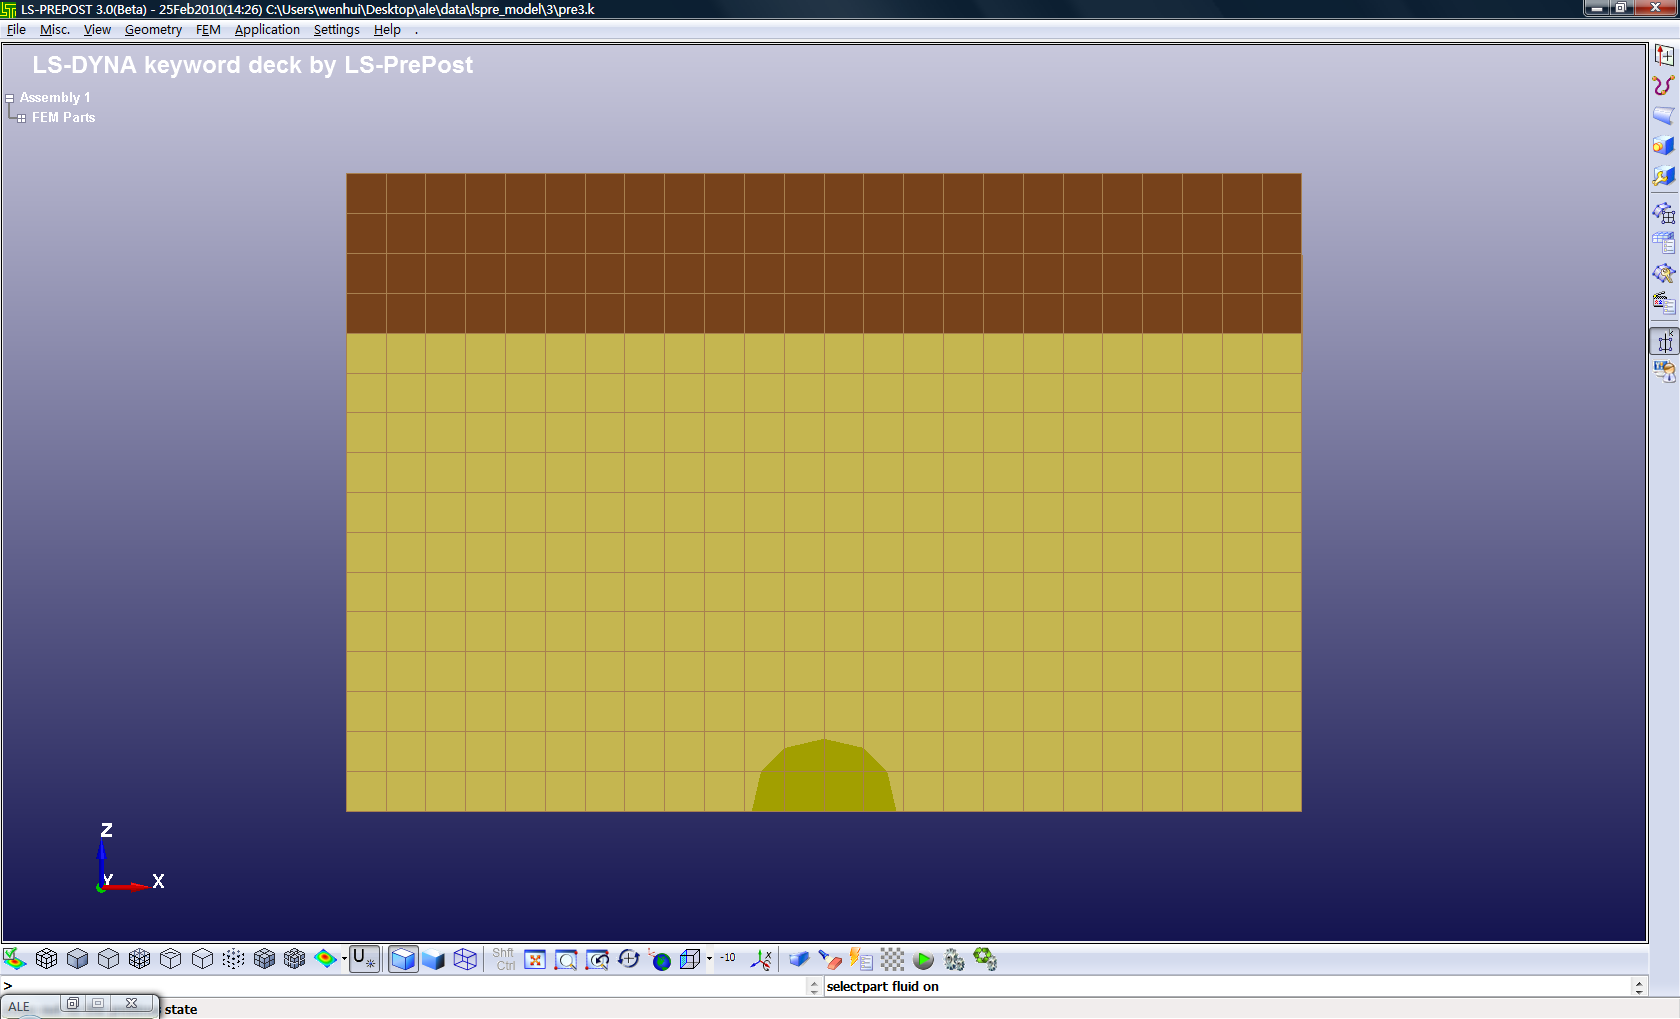
Show.


