Creating a Flag Group From a Dimension Annotation
Flag groups capture measurements and ensure that unwanted changes are NOT made to the model.
Flag Group Example
This example steps through the Flag Group functionality using a simple block.
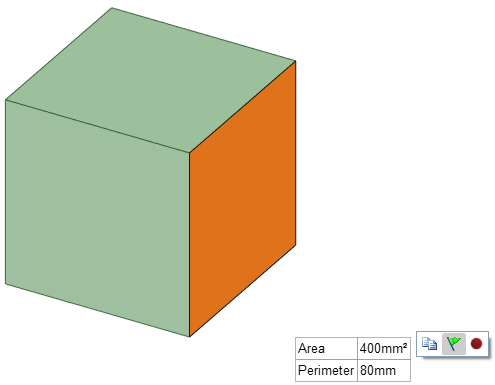
| The right face area is added to a Flag Group. |  |
| Modifications to the model that do NOT change the right face area can be made as usual. |  |
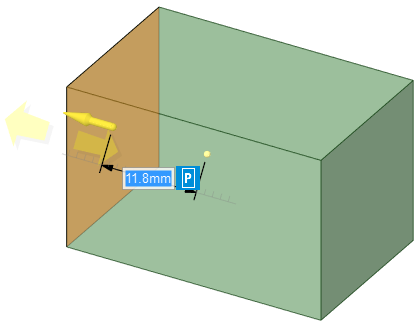
| Here a Pull operation is performed that changes the right face area. |  |
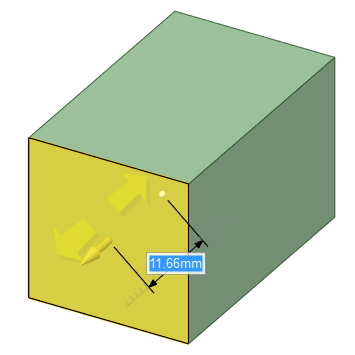
| Because of the Flag Group, the model snaps back with a warning message. | |
|
You can unlock a Flag Group by right-clicking on it in the
Groups panel and choosing
Unlock. After it is unlocked, the icon
changes to indicate that it is unlocked and can be modified.
At this point, the Measurement value is also the Current value, as indicated by the listings in the Groups panel. |
|
|
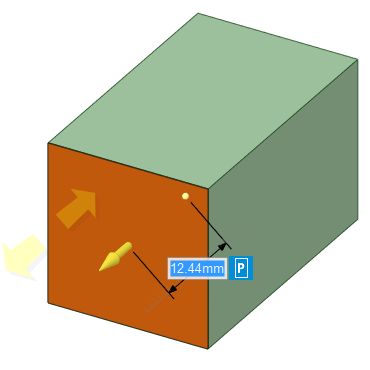
With the group unlocked, you can make changes to the right face. The face still blinks red and a warning is issued to inform you of the new measurement. The icon changes to indicate that the measurement has changed
from its original value. To make this new value the Measurement value, right-click the
group in the Groups panel and choose
Reset. This makes the Measurement value
and the Current value the same and it changes the group's icon
to indicate that it is still unlocked. To Lock the group at this new value, right-click the group and choose Lock. |
 |
If modifications result in the disappearance of the Flag Group's measured object, the flag group is deleted. Use Undo to get it back.
- Click a dimension annotation.
- Click the Lock
 icon next to
the measurement.
 - Open the Groups panel and see that a Flag Group has been created.


