


Blending Between Two Faces
-
Click
 Blend in the Design tab Edit group.
The Select tool guide is enabled by default.
Blend in the Design tab Edit group.
The Select tool guide is enabled by default. - Ctrl+Select the second surface or face.A blend preview displays between the first two faces. Blend surfaces begin tangent to the edges of the initial face and end tangent to the edges of the last face. You can Alt+Click these faces to reverse the tangent direction.
- (Optional) Modify the blend by selecting from the following options:
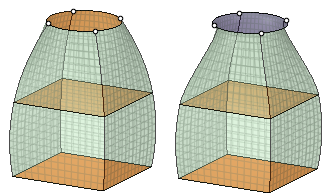
- Rotational blend: Create cylinders and cones whenever possible during the creation of a blend. You must have selected faces rotated around a common axis.
Periodic blend: Go all the way around when blending. You must have selected three or more faces rotated around a common axis, that also span an arc greater than 180 degrees. (Blending between 3 equal-radius circle faces creates a torus.)
Ruled segments: Create straight edges when you pull between three or more surfaces or faces.
Local Guides: Selected guide curves only influence areas near to them.
Checked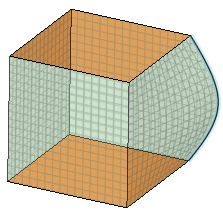 Unchecked
Clocked guides: Guide curves are oriented relative to the face edges instead being simply translated from vertex to vertex.
Clocked guides Unchecked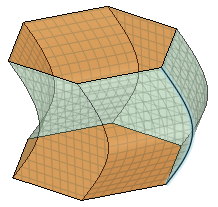 Clocked guides Checked
Sheet metal blend: Forces the tool to create developable surfaces. A developable surface is defined in mathematics as a surface with zero Gaussian Curvature (for example, a surface that can be flattened into a plane). The tool attempts to create planes, cylinders, and cones, in that order to maximize the planar areas. It is restricted to blending between two parallel planes.
Sheet metal blend unchecked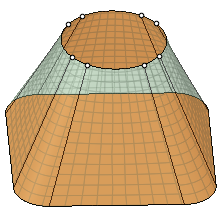 Sheet metal blend Checked
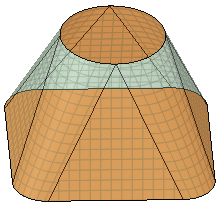
-
Click
 Complete to create the blend.
This section contains the following topics: