


Using picking to do element blanking:
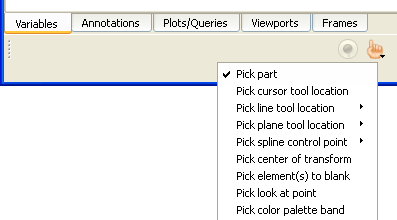
Set the pick action to Pick element(s) to blank.
Select part(s) in the part list that you wish to operate on.
Place the mouse pointer over the element you wish to blank out and press the P key to blank the element.
You will see the element under the mouse disappear as you do the picking.
To cause the elements to reappear, click the Element blanking/visibility icon and click the button in the dialog which comes up.

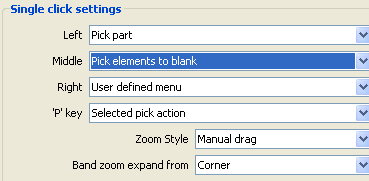
Note: Blanking can be done directly using the mouse if you change the mouse and keyboard settings. For example, the preferences can be set to blank using a middle mouse button click on the part. → → .
Also, the selection tool can be used to do element blanking on a larger scale:
Select the part(s) on which to do element blanking.

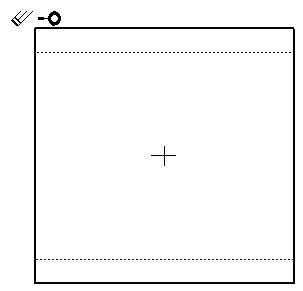
Click on the Selection tool icon to turn on the tool.

Position the tool as desired.
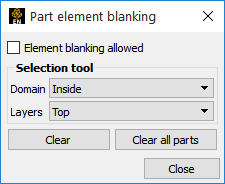
Click on the Blanking icon.
Choose the criteria to use for blanking: inside or outside (inside or outside the box) and top or all (top is just the first visible layer, all is to blank all elements in a direction perpendicular to box.
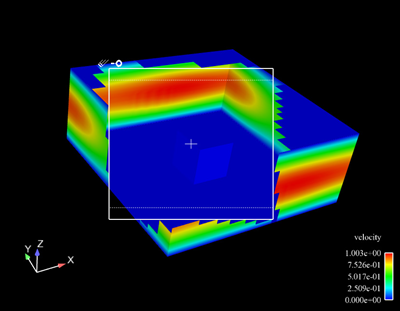
Click on the element blanking eraser symbol at the upper left of the tool.
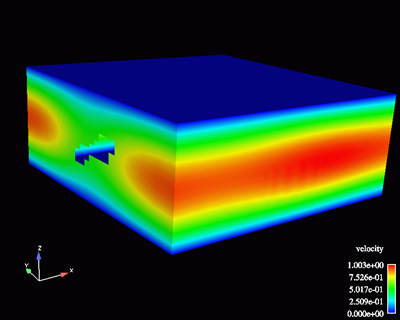
Results in this.
To undo the blanking, click the or button.
Note: The element IDs are used to tag visibility. These tags are preserved through timestep changes. If the elements change IDs (perhaps changing connectivity) then EnSight will continue to use those same IDs which may result in invisible elements at different locations.