


Any viewport can be viewed through a camera by
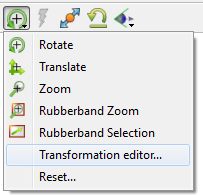
From the Transformation icon on the Tools Icon Bar, click
Select the viewport you want to view through a camera under Which viewport(s).
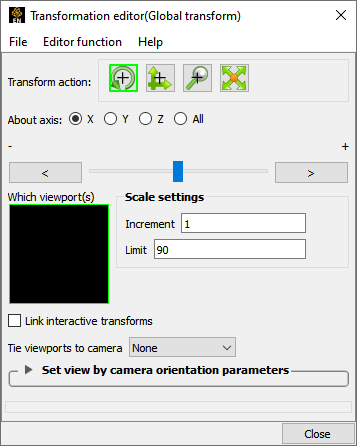
Select the camera from the Tie viewport to camera pulldown. When set to None the camera model is not used and the Global transformation model is active.
If a viewport is being viewed through a camera the interactive transformations (when you click and drag the mouse buttons in the viewport) affect the camera position and orientation. By default the visibility of the cameras are off.
There are eight total cameras available that can be manipulated. By default they are positioned at the +/- XYZ axis locations plus two more cameras showing a view of -1 -1 -1 and 1 -1 -1.
To position/orient a camera interactively:
If you click-drag for a transform in a viewport being tracked by a camera the camera will transform.
OR
In viewports that are not being viewed through a camera you will see a camera icon (if camera visibility is on). You can click-drag the center of the camera to drag the camera to a new position. Clicking/dragging the axis of the camera rotate the camera.
OR
You can set the Pick option on the tool ribbon to position/orient the camera
Place the mouse pointer over the desired location on a part in any of the viewports in the graphics window and press P (or whatever mouse button you have set for the Selected Pick Action in Edit → Preferences → Mouse and Keyboard). Depending on which pick action was chosen the camera will be positioned or oriented according to the pick.
You may pick a spline control point for the Camera origin in which case the camera will position and orient itself according to the spline.
To turn on camera visibility:
Open the Transformation Editor as described in previous section.
Select → .
Select Which camera you want to turn visible.
Turn on the Visible toggle.
To position/orient a camera interactively from the Transformation Editor (Camera) dialog.
If the Origin is set to XYZ then the camera is located at the X, Y, Z locations shown here.
If the Origin is set to Spline then the camera origin will be located on the defined spline.
If the Origin is set to Node then the camera origin will be located at a specified node id.
The camera orientation is controlled by the Camera Z direction and the Camera Up vector. If the Focus is set to Node or XYZ then the Z vector is defined by the Node/XYZ location.
To set other camera:
The view angle controls the field of view through the camera. A small value simulates a telephoto lens while a large value simulates a wide angle lens.
The Size sets the size of the camera glyph. Use the up/down arrows to increase/decrease the glyph size by a factor of 2.