


Click the Annotation feature icon.

Click the 2D Shape icon in the Create/edit Annotation dialog.
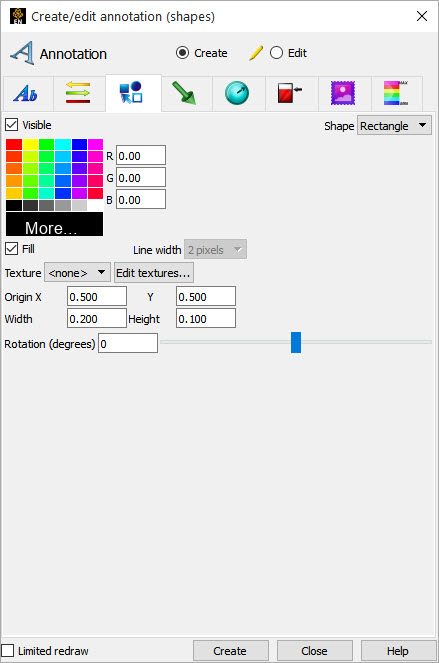
Create a new shape in the Graphics Window by setting the Shape type and then clicking the button.
To manipulate a shape, first select the shape(s) of interest in the list panel (or pick them in the graphics window), then:
To Change Visibility
Toggle Visible on or off.
Note: If you turn on Limited redraw invisible shapes are drawn in a subdued color.
To Change Color
Select the desired color from the matrix, enter RGB values in the fields, or click More... to open the Color Selector dialog.
To Change Location
Either select the shape and drag it to the desired location, or type appropriate coordinates into the Origin X/Y fields. The origin of a 2D arrow is the point of the arrow. The origin of a rectangle or circle is the center of the object.
To Change Size
Either select the shape by the resize handle and drag it to the desired size, or type appropriate Width/Length (or Height or Diameter) values into the fields. Units are 0 to 1.
To Change Fill Mode
You can draw the shape in filled mode or in outline mode.
To Apply Textures to the Shape
These are the same textures used by the parts and the button will open the part texture dialog, where textures or animations can be loaded and other set.
Note: 2D shape textures always replace the current shape color and modes like “modulate” and “decal” as well as custom projections and repeat behavior are not supported.
Other: To Rotate the Shape
According to the selected shape, other may exist, such as rotation, arrowhead, etc.
To delete a shape, right-click the shape in the Annotations object panel and Delete.