


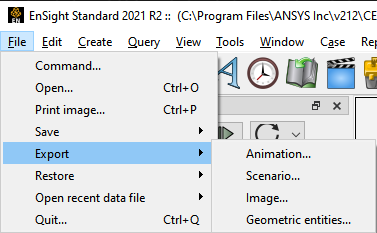
Choose → .
There are two export types which support raytracing.
Exporting an Image
Select
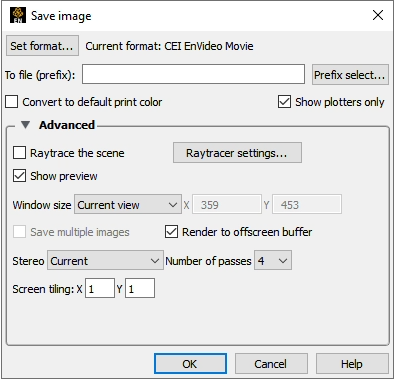
The Save image dialog will appear.
In this dialog, we first set up the normal image output options, such as file path, image format, image size, etc.
Open the Advanced frame box.
Here we will see the raytracing settings.
For a quick start, simply check the checkbox and leave all the rest of the settings untouched.
Press the button.
The data will be rendered using the raytracing rendering engine and exported as specified after the rendering is finished.
Exporting a Video (Animation)
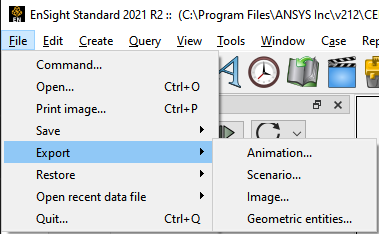
Select
The Save animation dialog box will come up.
If you see that the menu item is grayed out, then the data set does not contain transient data. You will need to create some transient data such as a flipbook or keyframe animation.
Open the Advanced frame box.
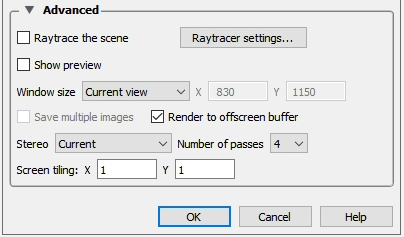
For a quick start, simply check the“Raytrace the scene checkbox and the raytracing rendering engine will be used for rendering each frame of the animation.
Press the button.