


Fixing Holes Examples
The following example shows the use of a few of the tool guides and the Cap option.
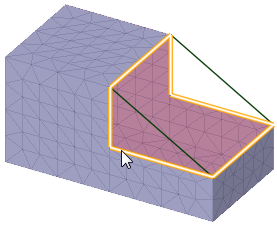
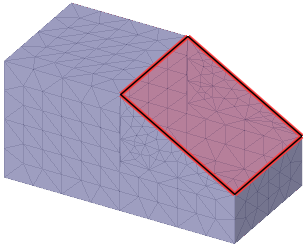
| Click the Select Geometry tool guide and select the contour. |
|
| The preview shows that the default patch will not produce an angled face. |
|
|
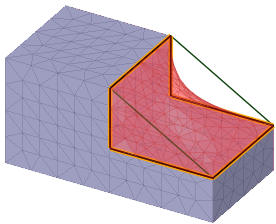
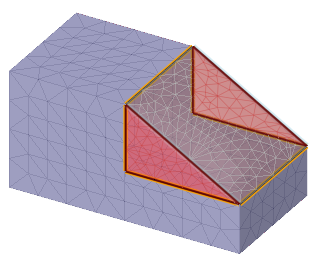
Click the Select Guide Curves tool guide and select the curves, or Alt-select them. notice that the preview now goes through the curves. With the Select Guide Curves tool guide active, it is considered sticky (as if the Ctrl key were being held down) to allow multiple selection and selection toggling. |
|
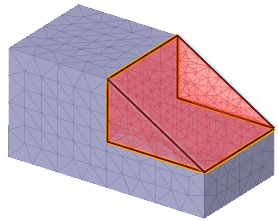
| Clicking Complete shows that the face is not flat. |
|
|
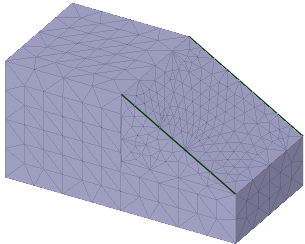
To make it flat, Undo the fill and use the Exclude Regions tool guide to exclude the angled face. Notice that the excluded region is shown in a dim gray to indicate it will not be included. |
|
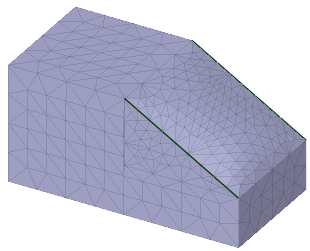
| In the Options panel, set the Cap option. Then click the Select Problem tool guide and the select the remaining loop. |
|
| Click Complete. |
|
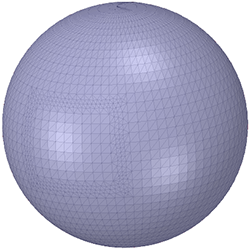
The following examples show the use of the Together and Separately options.
|
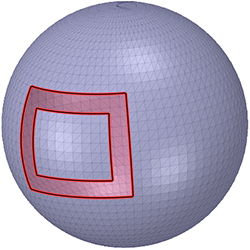
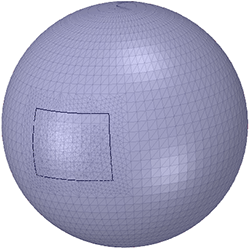
Two loops on the outside of a sphere is a case that
should be filled together, as they are both
intended to be occupying the same physical space (that is,
the outside of the sphere).
|
The Together option ensures that
the patch completes the shape.
|
|
If the Separately option is used,
the gap is closed (one at a time) so a loop and a separate
surface remains.
|
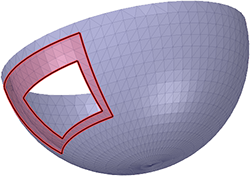
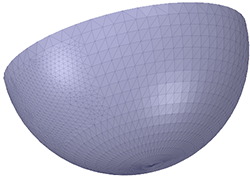
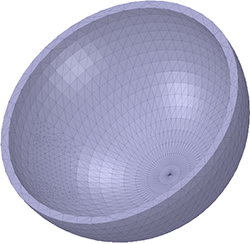
This shelled bowl is an example where the
Separately option is more likely
to be used.
|
|
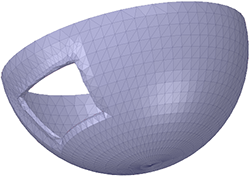
The Separately option ensures that
each patch completes the surrounding shape both outside and
inside.
|
The Together option considers the
surrounding shape of both holes at the same time and
transitions between the two holes.
|