

This script will, for the selected time range, export the selected variables of all particles within the computational domain. The user can select between writing one single file containing all outputs or one file per output.
Script Details
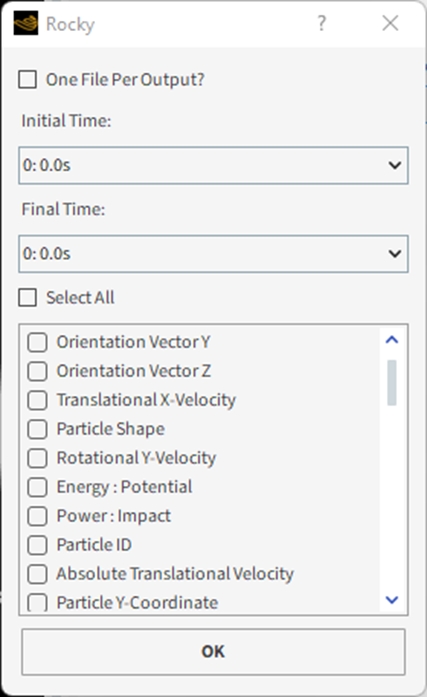
When running this script in a case that contains results, a new user input window will be prompted (as shown below) and the following inputs are necessary:
One file per output?: When checked, a single .csv file will be created for each output.
Initial time: Selects the initial time to be exported.
Final time: Selects the final time to be exported.
Tip: If you want to export single time information, select the Initial time equal to the Final time.
Properties to be exported: This option lists all the particle properties available for exporting. The user must check the properties which will be written in the .csv file.
Note: When Meshed Particles Upscaling is enabled, the Orientation Vectors and Angle are not available.
Script Outputs
The files created after running this script will be saved in the same location as your project folder, inside a folder named particle-data.
If the user enables the One file per output? option, there will be a single file per output. The quantity of outputs to be exported is defined by the selected Initial time and Final time. If the One file per output? is disabled (unchecked), a single .csv file will be generated, containing all outputs within the desired time range.
For a case named case_name and the One file per output? option enabled, the export file of the output 0.14s will be named:
case_name_particle_data-0.14s.csv
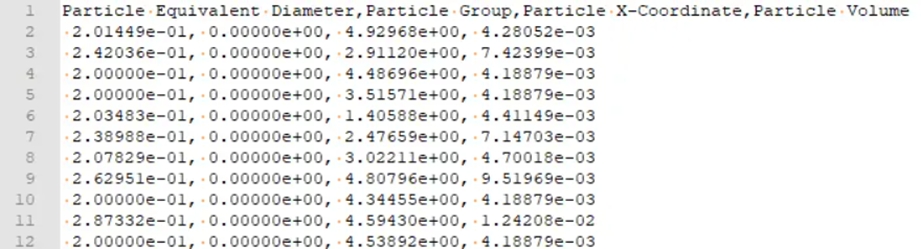
The figure below shows an example of a file generated with the One file per output? option enabled.
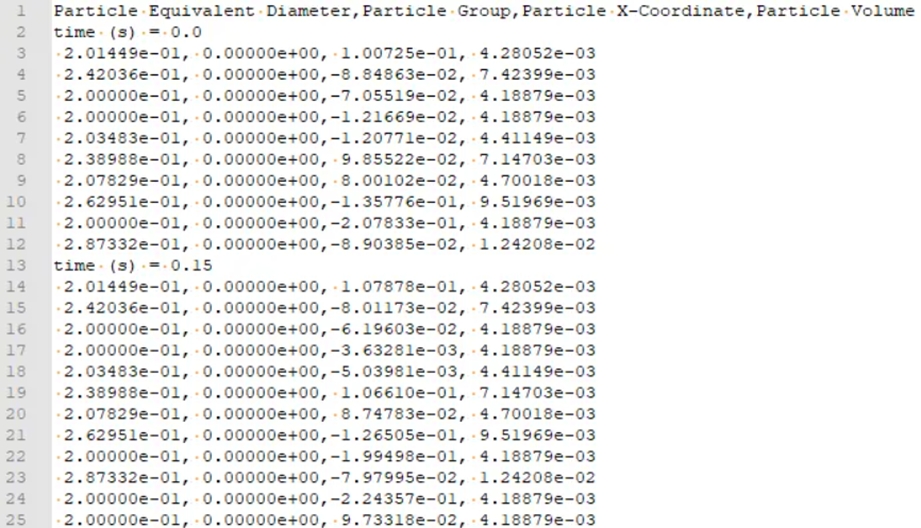
The figure below shows an example of a file generated with the One file per output? disabled.
Script Prerequisites
This script must run only on current release.
After downloading and extracting the attached .zip file, the included .py file must be saved to your Scripts folder, which is inside your Rocky folder.
On Windows, this folder is located at C:\Users\YOURUSERNAME\Documents\Rocky\Scripts.
On Linux, this folder is located at /home/YOURUSERNAME/.Rocky/scripts.
Tip: To modify this script to better match your own project needs, open the .py file in a Python Editor, such as Visual Studio Code, and then use the information in the PrePost Scripting Manual to adjust the parameters and settings to your needs.