To import a part to the Parts Library, click the Parts
button  in the left panel of the
dashboard and then click Import Part. Part files are .stl files,
either ascii or binary. While .stl files are unitless, dimensions of the part in
Additive are assumed to be in units of millimeters (mm).
in the left panel of the
dashboard and then click Import Part. Part files are .stl files,
either ascii or binary. While .stl files are unitless, dimensions of the part in
Additive are assumed to be in units of millimeters (mm).
The name, tags, and description fields allow you to identify the part in some way that makes logical sense to you. These fields are searchable at any location in the program that allows for searching on text fields. Tags should be at least three characters long. Be aware that the search function is case-sensitive.
Click Save to begin the import.
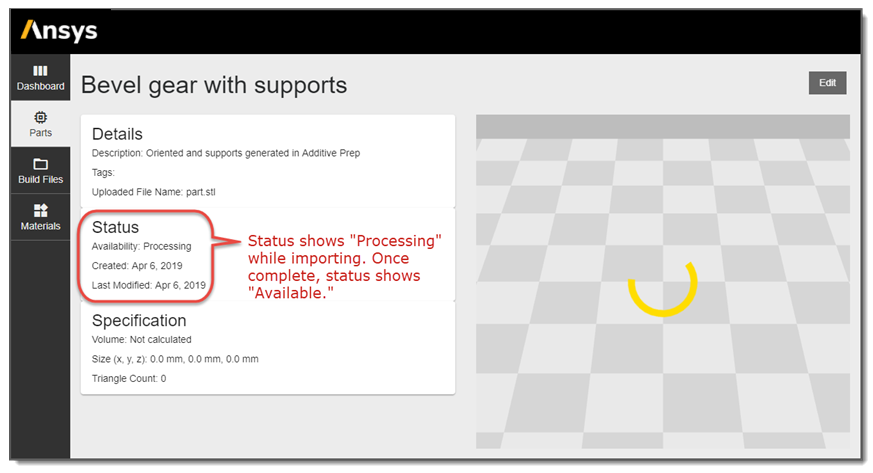
It may take a few minutes to import a part, depending on the size of the file. The status indication in the Parts Library shows “Processing” while the part is importing and “Available” when importing is complete. A common practice is to import the part and then begin setting up your simulation. When you get to the step of selecting geometry on the simulation form, the part is usually available for selection.
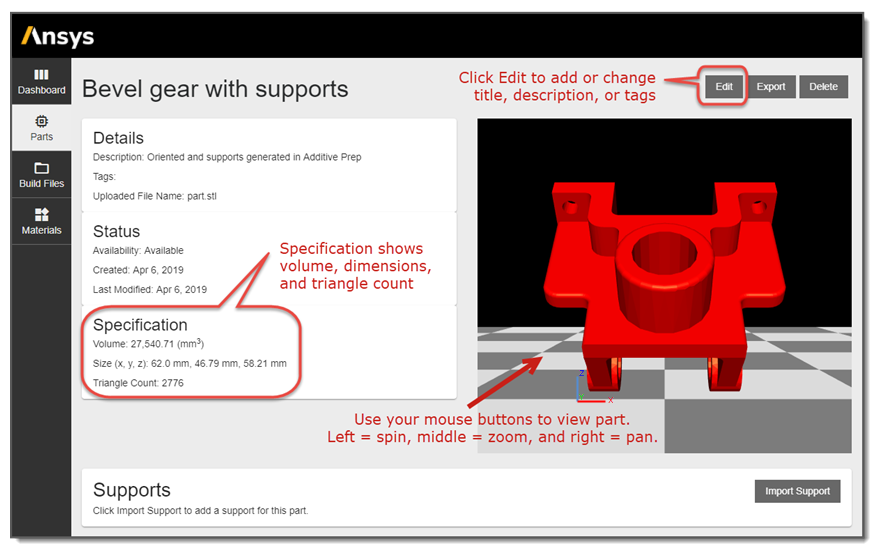
You will see your part in the geometry window when the part is available. Use your mouse buttons to move the part around in the image preview; left button for spin, middle for zoom, and right button for pan. Also shown is a triad legend to provide directional perspective.