


Toolbar
The Toolbar settings are available in the OpticStudio Preferences window, which can be displayed via a button in the System section of the Setup Tab.
This allows the user to customize the icons after the separator in the Quick Access Toolbar.
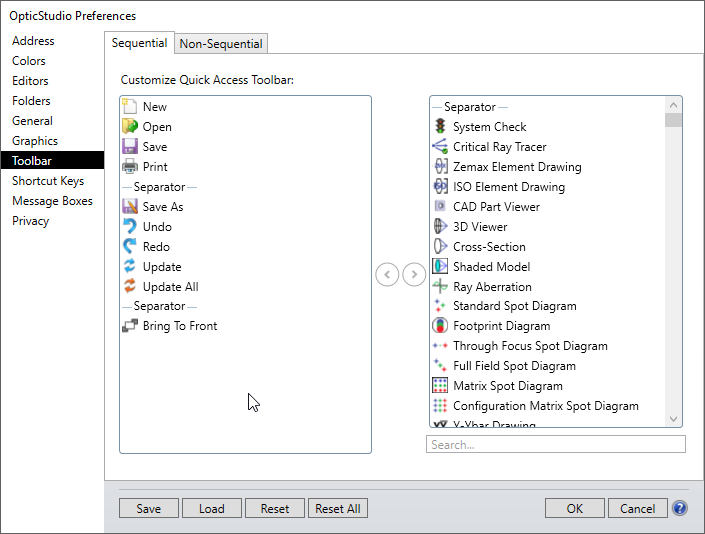
Move icons to and from the Quick Access Toolbar using the left and right arrows in the center.
To add a new tool to the Quick Access Toolbar, first select the Sequential or Non-sequential UI Mode tab, click on one of the features listed on the right, and then use the left arrow to move the feature to the toolbar.
For example, type "dock" to search for the "Dock All Windows" tool.
Click on the tool to select it, and then use the left arrow to move it to the toolbar:
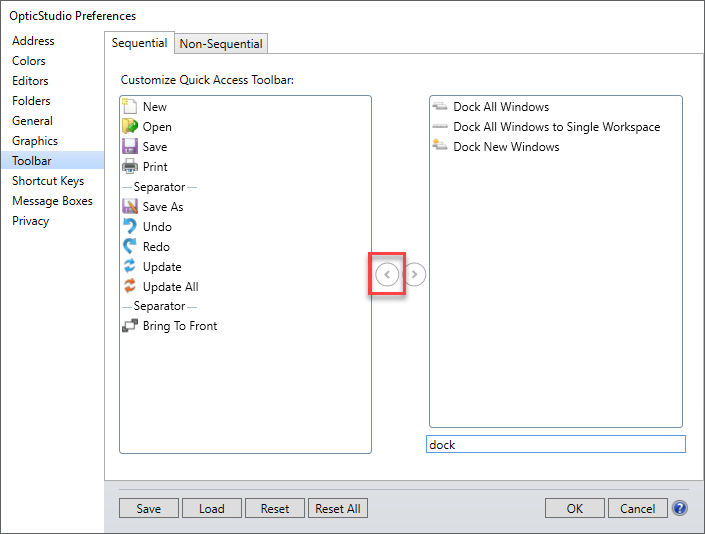
Similarly, the right arrow can be used to remove features from the toolbar.
Button Functions
Save Saves the current settings to the OpticStudio configuration file.
Load Allows the user to load a previously saved configuration.
Reset/Reset All Resets one or all sections of the OpticStudio Preferences.
OK Closes the window and implements the changes without saving.
Cancel Closes the window without implementing any changes.
Next: