


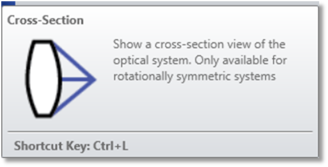
Cross-Section

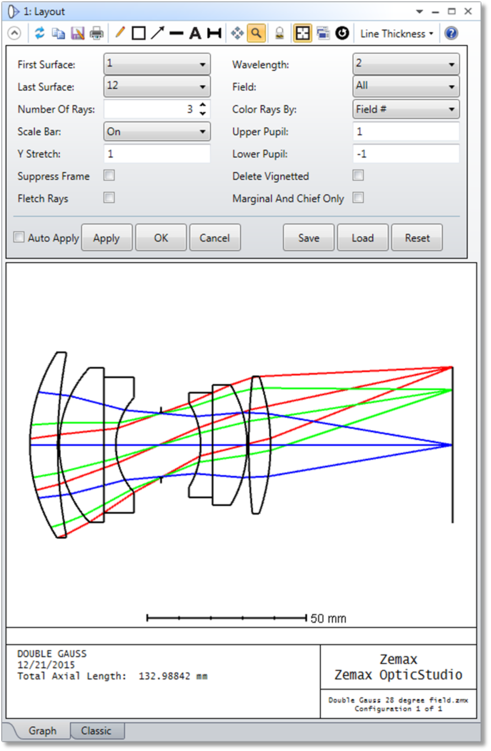
This is a YZ cross section through the lens. There are Graph view and Classic view available, which can be toggled at the lower left corner if Classic view is turned on.
The Classic view can be turned on or off in the Setup tab > OpticStudio Preferences > Graphics > Enable Classic View.
This feature is not available if you use coordinate breaks, spider obscurations, obscuration decenters, X angles, holograms, or other attributes which spoil the rotational symmetry of the lens. Use the 3D layout instead. If rays miss a surface, then the rays will not be drawn to the surface where the error occurred. If the ray is total internal reflected, then the ray will be drawn up to but not past the surface where the error occurred. Ray failures can be evaluated in detail by using "Ray Trace".
First Surface The first surface to be drawn.
Last Surface The last surface to be drawn.
Wavelength Either any one or all wavelengths may be shown.
Field Either any one or all field positions may be shown.
Number of Rays The number of rays specifies the number of tangential rays to be drawn for each defined field. The rays will be evenly distributed along the fan of the pupil, unless apodization has been specified. This parameter may be set to zero.
Scale Bar (in Graph view) If Scale Bar is set to On, then a scale bar will be displayed at the bottom of the window. The scale bar will be automatically adjusted when the layout is zoomed in or out.
Scale Factor (in Classic view) If the scale factor is set to zero, then "Fill Frame" will be selected, which will scale the range of surfaces drawn to fill the graphic page. If a numeric value is entered, then the plot will be drawn in "real" scale, times the scale factor. For example, a scale factor of 1.0 will plot the lens actual size on the printer (not the display). A factor of 0.5 will plot the lens at half scale.
Y Stretch The relative exaggeration of the Y direction. This control is useful for drawing systems with very large aspect ratios. Ignored if negative, zero, or unity.
Upper Pupil Limit The maximum pupil coordinate to draw rays to.
Lower Pupil Limit The minimum pupil coordinate to draw rays to.
Marginal and Chief Only Draws only the marginal and chief rays, overriding the other ray settings.
Color Rays By Select "Field #" to use color to distinguish between each field position, or "Wave #" to distinguish between each wavelength, "Config #" to distinguish between configurations, and "Wavelength" to approximate the color of wavelengths in the visible spectrum.
Suppress Frame Suppresses drawing of the frame on the bottom of the window, which leaves more room for the layout plot itself. No scale bar, address block, or other data will be displayed.
Delete Vignetted If checked, rays are not drawn if they will be vignetted by any surface.
Fletch Rays If checked, small arrows are drawn on each ray to indicate the direction of propagation.
Next: