


How to Use the FMU Plug-In
Create a new workflow using the File > New menu item or by clicking the New Model button on the Standard or File toolbar. Either action will open a Windows dialog to save the new workflow.
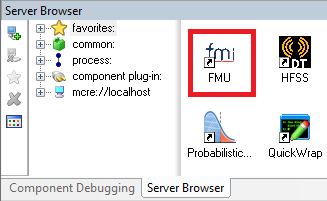
Drag the FMU component from the Server Browser and drop it into the Analysis View.
The Initialize PACZ dialog opens. Select the option that best describes the files for your FMU project.
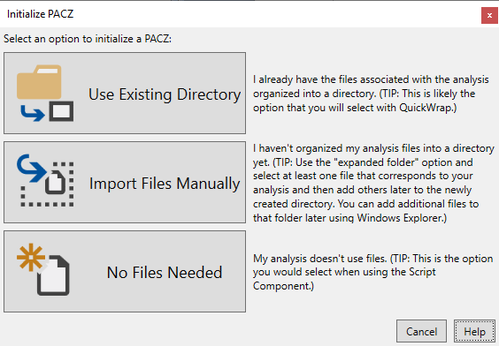
For more information on the Initialize PACZ dialog options, click the Help button on the dialog.
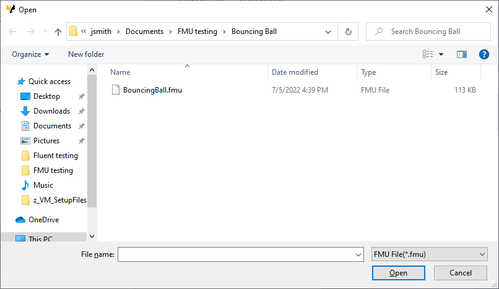
Select the file(s) or the destination folder based on your choice in the previous step. Click the Open button after making the selection.
The FMU file loads, and the Select Variables dialog opens.

Select one or more variables, and then click the OK button. The variables load in the FMU Plug-In.
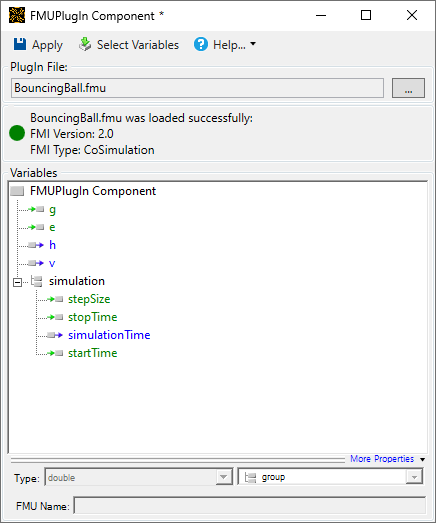
Click the Apply button to save the changes to the FMU Plug-In.
Close the FMU Plug-In. The variables are added to ModelCenter.
