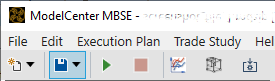
Click the Save button in the toolbar. If the tab has been saved before, it will be re-saved in its current state with
the same name, and no further dialogs will appear.
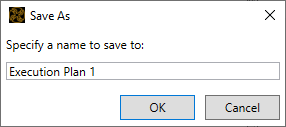
A Save As dialog will appear.
Enter a name for the tab in the text field.
Note: All Execution
Plan and Execution Results tabs must have unique names.
Click the OK button.
Note: In Genesys, an extra Save dialog
will open, likely behind the other windows. This creates a save file in the Genesys
model and is required in order to save the Execution Plan and Execution Results. Find
this dialog and save there.
The Execution Plan tab or Execution Results tab is saved.
Execution Plan tab
Execution results tab
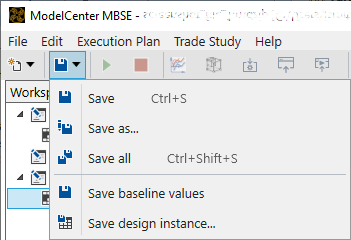
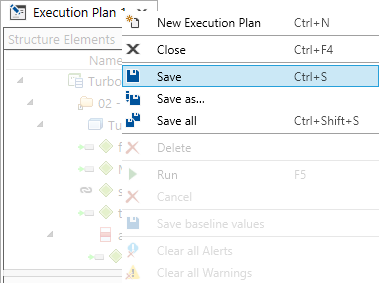
How to save from the Save menu
Click the down arrow by the Save button in the toolbar.
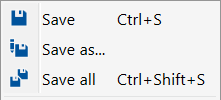
A menu appears. Select from the following options:
"Save" -- saves the current tab.
If the current tab has been saved before, it will be re-saved in its current
state with the same name, and no further dialogs will appear.
If the current tab has not been saved before, the Save As dialog will open.
"Save as" -- opens the Save As dialog to save the tab.
If the current tab has been saved before, it can be saved under a different
name.
Tip:To use the Save As dialog:
Enter a name for the tab in the text field.
Click the OK button.
"Save all" -- saves all open tabs.
If a tab has been saved before, it will be re-saved in its current state with the
same name, and no further dialogs will appear.
If a tab has not been saved before, a Save As dialog will appear for that
tab.
Note: All Execution Plan and Execution Results tabs must have unique names.
Note: In Genesys, an extra Save dialog will open, likely
behind the other windows. This creates a save file in the Genesys model and is required
in order to save the Execution Plan and Execution Results. Find this dialog and save
there first, then proceed to save from ModelCenter MBSE.
The Execution Plan tab or Execution Results tab is saved.
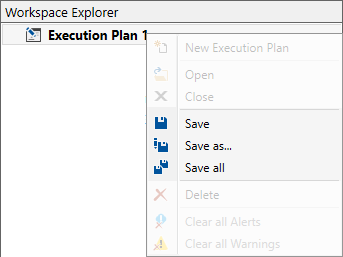
How to save from right-click menu on the tab
name or in the Workspace Explorer
Right-click on the Execution Plan tab or Execution Results tab, or right-click on the
Execution Plan name or Execution Results name in the Workspace Explorer.
A menu appears. Select from the following options:
"Save" -- saves the current tab.
If the current tab has been saved before, it will be re-saved in its current
state with the same name, and no further dialogs will appear.
If the current tab has not been saved before, the Save As dialog will open.
"Save as" -- opens the Save As dialog to save the tab.
If the current tab has been saved before, it can be saved under a different
name.
Tip:To use the Save As dialog:
Enter a name for the tab in the text field.
Click the OK button.
"Save all" -- saves all open tabs.
If a tab has been saved before, it will be re-saved in its current state with the
same name, and no further dialogs will appear.
If a tab has not been saved before, a Save As dialog will appear for that
tab.
Note: All Execution Plan and Execution Results
tabs must have unique names.
Tip: In Genesys, an extra Save
dialog will open, likely behind the other windows. This creates a save file in the
Genesys model and is required in order to save the Execution Plan and Execution Results.
Find this dialog and save there first, then proceed to save from ModelCenter MBSE.
The Execution Plan tab or Execution Results tab is saved.