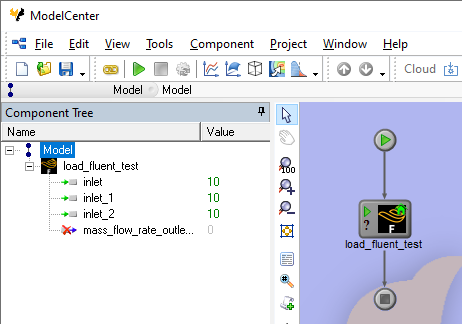
How to use the Fluent Plug-In
- In ModelCenter, create a new Model using the File > New menu item or by clicking the New Model button on the Standard or File toolbar. Either action will open a Windows dialog to save the new workflow.
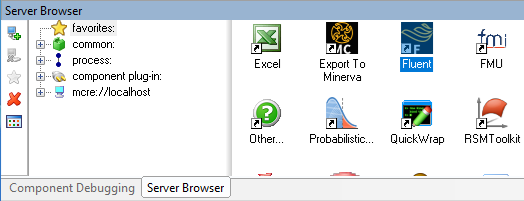
- Drag the Fluent component from the Server Browser and drop it into the Analysis View.
- The Initialize PACZ dialog opens. Select the option that best describes the files for
your workflow, then select the folder or file as needed. For more information on the
Initialize PACZ dialog options, click the Help button in the dialog.
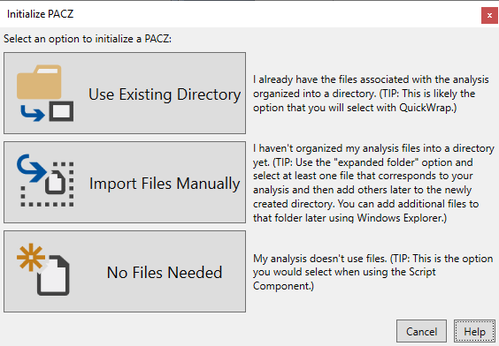
- Select Use Existing Directory.
- Specify the directory with the existing Fluent case model.
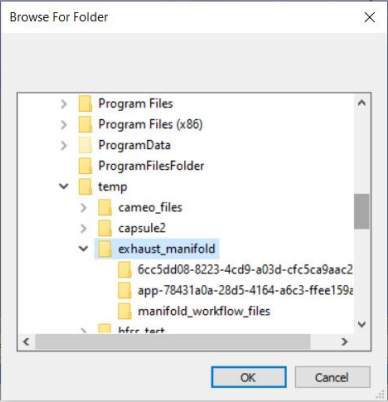
- Select the prepared case file.
- The Fluent case file loads; this may take several minutes.
- The Select Variables dialog opens with available input and output variables.
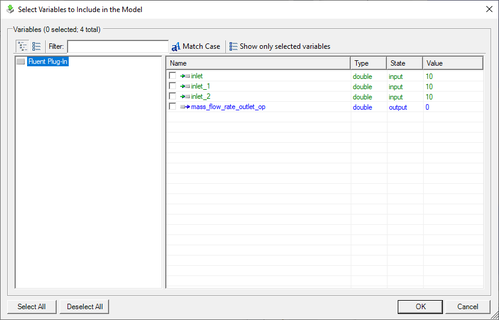 Tip: Ensure that all input and output variables use only lowercase letters in their names (e.g.,
v_inlet1). Using capital letters (e.g.,V_inlet1) may cause issues in the Fluent Plug-In. - Select the variables that need to be exposed in the component, and then click the OK button. The variables load in the Fluent Plug-In.
- Click the Apply button to save the changes to the Fluent Plug-In.
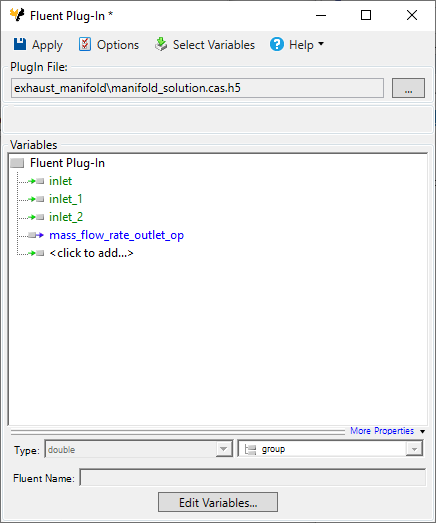
- Close the Fluent Plug-In. The component is now ready to be integrated with the rest of
the workflow.
