To update the MI Pro Materials Data database, follow these steps.
Prerequisites: Ensure that
your MI Pro Materials Data database is backed up in SQL Server before starting a
Data Update. This will require a SQL Server login with sysadmin privileges.
-
On your Granta MI Pro application server, open the MI Admin tool
(Start > All Programs > Granta MI > MI Admin) and connect
to MI Server as a user with administrative privileges for the Granta MI system
(that is, a user who is a member of the MI_ADMIN security group).
-
Click Data Updater in the toolbar.
-
Click Upload and Verify Update.
-
In the Choose update file field, select first update to
apply. (Remember you need to apply updates in order, oldest first.)
-
In the Choose database to update field, choose the
MI Pro option.
Leave all the other options in this dialog with the default
values.
-
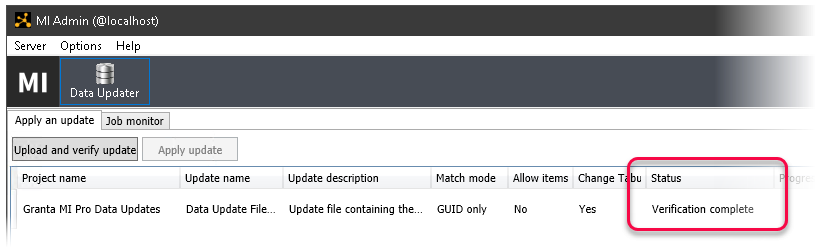
Click Upload and verify.
After a few moments, the update’s status will change to Verification
complete.
-
Now apply the verified update by clicking Apply
update.
The update will take a few moments to apply. When it has finished, its status
will change to Update applied.
-
You can click
 Save change report to view a report showing all of the
changes made by the update. See Change reports.
Save change report to view a report showing all of the
changes made by the update. See Change reports.
-
You can go to the Job monitor tab to view a summary of the update job
status
-
Repeat Steps 5 through 10 for each update to be applied.
Remember that Data Updates for MI Pro are incremental: they contain only
changes from the previous release to the next release. If you are upgrading
across more than one release, you will need to apply all of the relevant
Data Updates, in order.
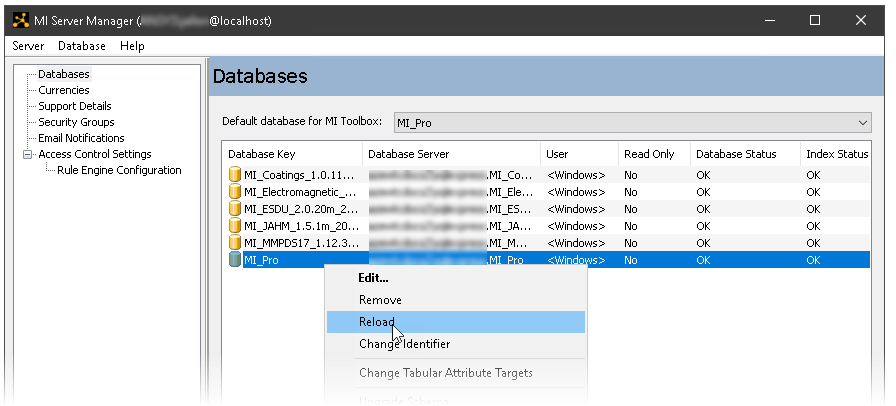
After applying all required updates, the database must be reloaded to into Granta MI
to rebuild the search index, and to make all the database changes available to
users. Open the MI Server Manager tool, select the MI_Pro database,
right-click and select Reload.