
Reassigning Faces to Another Face Selection
You can assign faces after you have created a face selection. Creating a face selection is a convenient way to identify and select a group of faces for a field plot or calculation. Faces in a selection can still be treated as separate faces. The same faces can be included in several different selections.
To reassign faces to an existing face selection:
- If you are selecting in the Modeler window, make sure that the modeler is in select face mode by pressing the F shortcut key. This is not necessary for selecting in the History tree.
- Select the faces you want to reassign.
- Click Modeler > Named Selection > Reassign.
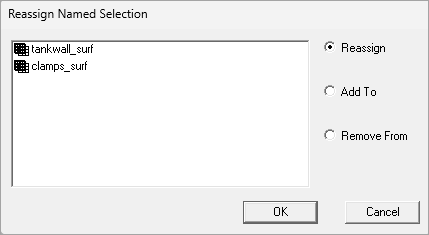
A dialog box with the existing face selections is displayed. (They appear in the History Tree under Named Selections.)
- Click the named selection that you want to modify, and then select Reassign, Add To, or Remove From.
- Click OK.
If Reassign was selected, the face is reassigned to the active selection, replacing previous list members. The Add To and Remove From options act only on the selected faces.
The face selection will be treated as one surface when you are plotting and performing fields calculations. It will be listed in the Geometry window of the Fields Calculator, when you select Surface.