
Creating a Subcircuit from a Selection Area
Select Schematic > Create SubCircuit from Selection Area to select a rectangular area of the schematic and send the component instances enclosed within the area to a subsheet attached to the current parent sheet. Net routing and port types are adjusted to make sure that connectivity is maintained.
To create a subcircuit from a selection area:
- Select Schematic > Create SubCircuit from Selection Area.
The cursor changes to a large  for selecting the
area of interest.
for selecting the
area of interest.
- Click and drag the cursor until the selection
rectangle encloses the area containing the components you want to include
in the subcircuit, then click again to complete the selection.
A subsheet component is created containing the selected components.
The new subsheet’s icon also appears in the Project Manager Project tree under its parent design.
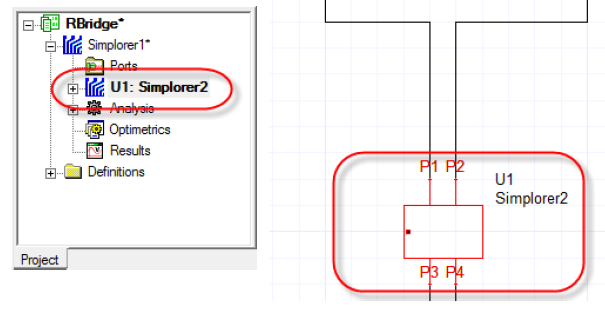
The new subsheet component pin spacing is controlled by the SubCircuit Pin Spacing setting on the Schematic Editor Options: General tab. You can right-click the new component and select Push Down on the context menu to view the subsheet and confirm the selected components are present.
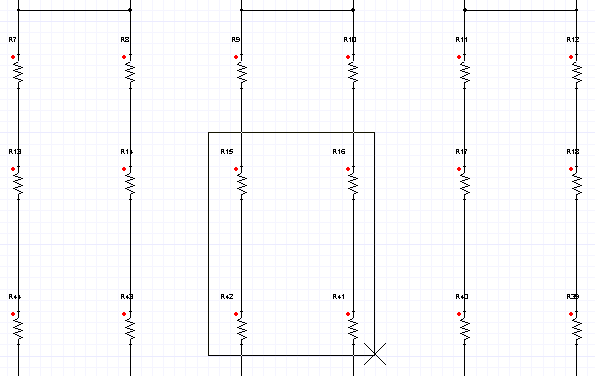
Considerations when selecting an area:
- The selection area boundaries should only intersect nets on the schematics since they form the interface of the subsheet.
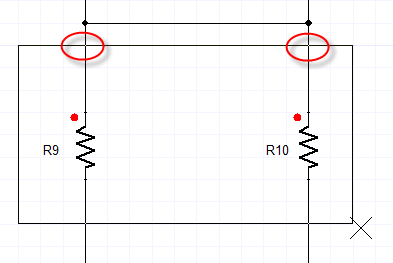
- Twin Builder subcircuits do not allow a single net
to cross the interface more than once. For example the following selection
would fail to create a subcircuit.
- All pins of an enclosed component instance must be inside the selection boundary for that instance to be included.
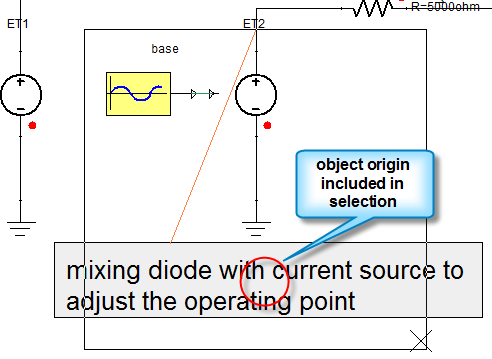
- For instances that have no pins, the object’s
origin must be inside the selection boundary for it to be included in
the subsheet.
- Interface ports cannot be present inside the selection area.
- Page connectors will be inserted to maintain connectivity if Twin Builder is unable to route the interface nets on the parent sheet.