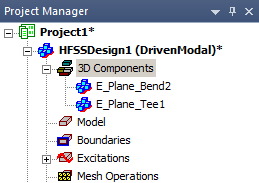
3D Components in the Project Manager Window
The Project Manager window organizes any 3D components that you add to a design under the 3D Components icon in the tree.
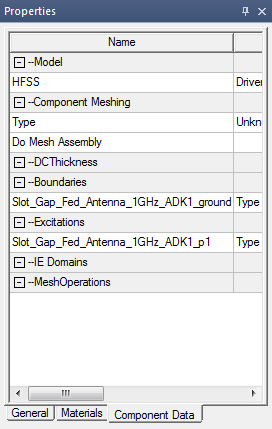
Selecting these inserted components populates the docked Properties window, which has tabs that display the instance attributes.
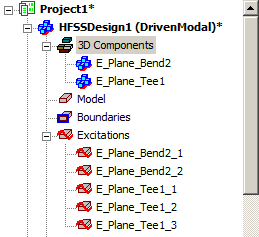
Excitations included in the 3D Components appear in the Project Manager. This gives you the ability to edit Post Processing settings, such as the de-embed distance, renormalization, and power settings.
Boundaries defined inside the component do not appear in the Project Manager. However, boundary properties can be seen when you select the component in the Project Manager and view the component properties under the Component Data tab of the docked Properties window.
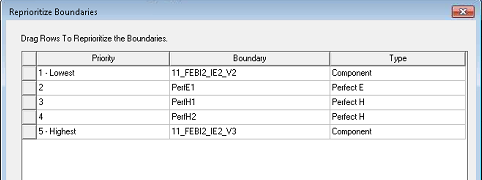
However, you can use HFSS>Boundaries>Reprioritize to set the priorities of all boundaries relative to non-component boundaries.