
Working with Custom Tags
EMI Scanner also allows you to create and assign custom tags. User-created tags are denoted by [u] in the Tags pane, and can be assigned manually.
Adding Custom Tags
To add tags:
- Launch EMI Scanner.
- Click Tags.
The EMI Scanner displays the Tags tab.
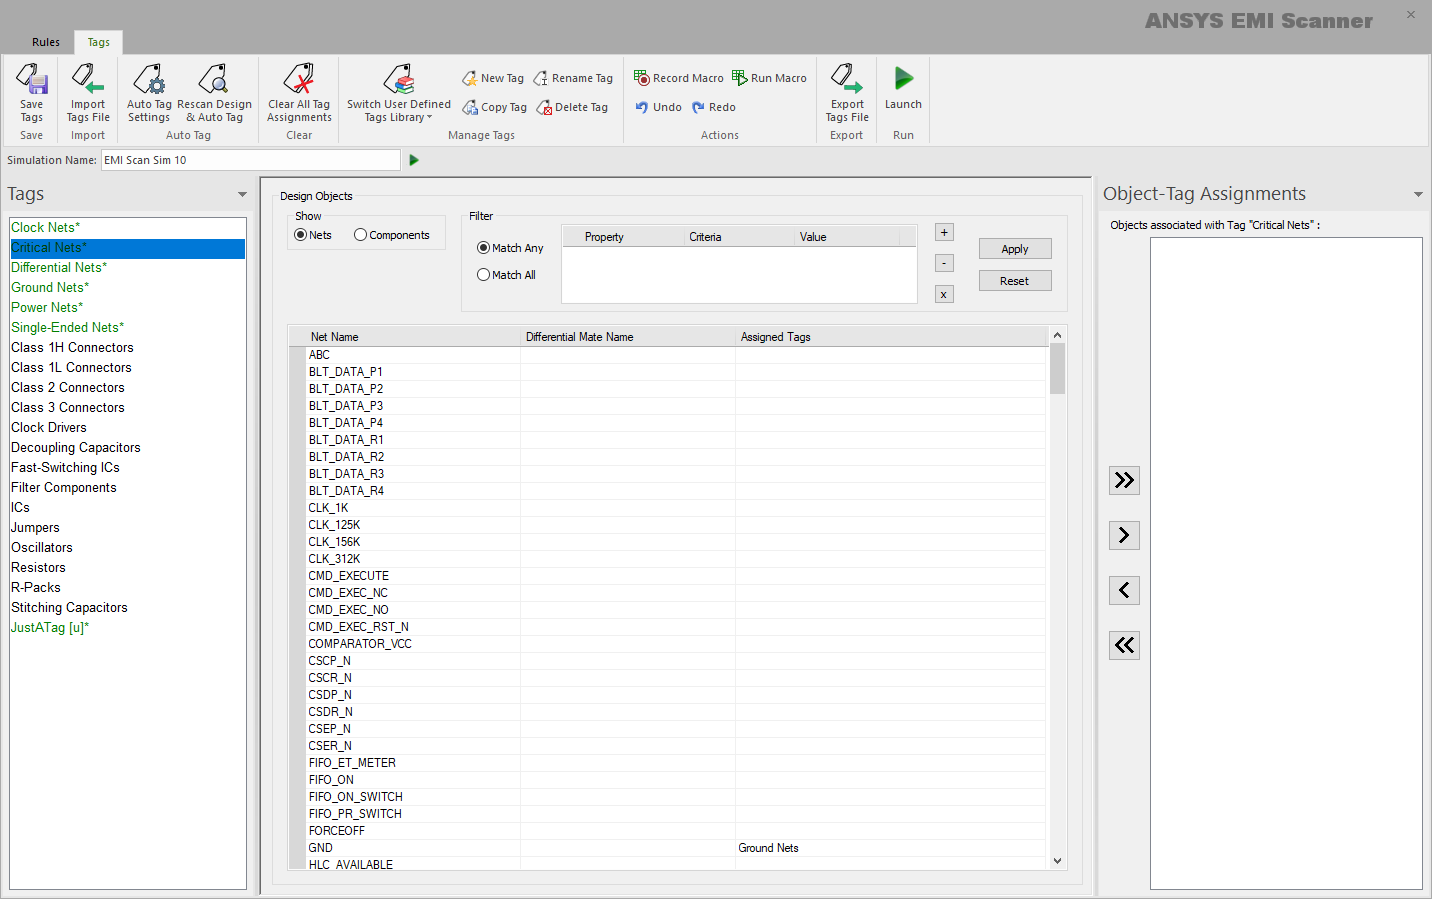
Tags are listed in the Tags pane on the left. Net tags appear in green, while Component tags appear in black.
- From the Manage Tags area of the ribbon, select New Tag to open the New User-Defined Tag window.
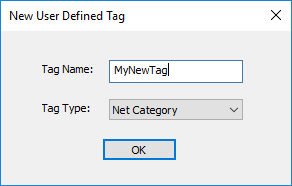
- Enter a Tag Name and select the Tag Type. You can create a tag either in the Net Category or Component Category.
- Click OK to return to the EMI Scanner window.
The new tag appears at the bottom of the Tags pane, with a [u] indicating that it is a user-created tag.
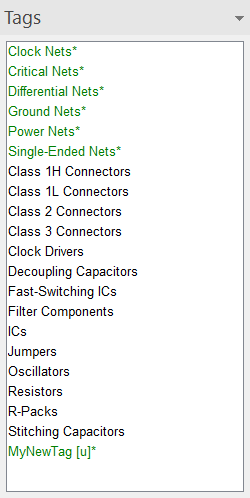
- To save your tags, click Save Tags.
Your tags appears in the Tags pane the next time you launch EMI Scanner.
Also create a custom tag from an existing tag. To do so:
- Select a tag on the Tags pane.
- From the Manage Tags area, click Copy Tag.
The Copy User-Defined Tag window opens, with the Tag Type already selected.
- Name the new tag and click OK.
The new tag appears in the Tags pane.
Renaming a Custom Tag
To rename a custom tag:
- Select the tag on the Tags pane.
- From the Manage Tags area, select Rename Tag to open the Rename User-Defined Tag window.
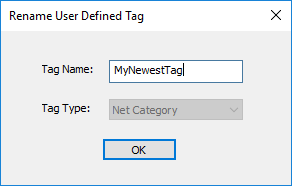
- Rename the tag and click OK.
Note:
You can only rename custom tags. You cannot rename a default tag.
Deleting a Custom Tag
To delete a custom tag:
- Select the tag on the Tags pane.
- Use the double left arrow (<<) in the Object-Tag Assignments pane to remove any assignments.
Important:
You cannot delete a tag until all object assignments are removed from it.
- From the Manage Tags area, click Delete Tag.
The tag disappears on the Tags pane.
Note:You can only delete custom tags. You cannot delete a default tag.