
Exporting the Near Fields Animation
Navigate to the Near Field Results menu:
- Click Results.
- From the SIwave area, select Near Field > [Simulation Name] > Plot Fields.
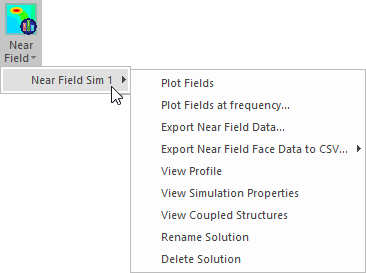
You can also access this menu by right-clicking [Simulation Name] in the Results window.
The Near Field Sweep results window appears.
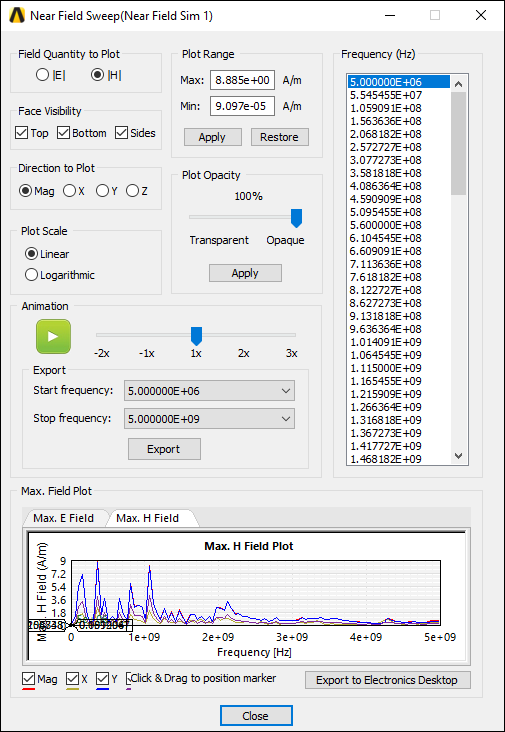
Use the Play icon to view the results as an animation in the Modeling workspace. While in playback, the icon becomes a Pause icon. Click Pause to stop the animation.
To export an animation:
- Use the Start Frequency drop-down menu to select the first frequency in your animation.
- Use the Stop Frequency drop-down menu to select the final frequency in your animation.
- Click Export.
- Select a location for the file.
- From the File name field, enter a name for the file.
- Use the Save as type drop-down menu to select either GIF Animation Files (*.gif) or Audio-Video Inteleave Files (*.avi).
- Click Save.
- To replace colors in the file with 256 shades of gray, check the Grayscale check box. Grayscale animations use less memory than full color animations.
- For .avi files:
- Specify the Compression Factor.
- Use the Compression Types drop-down menu to select from the following: INTEL Indeo, Cinepak, Microsoft Video 1, or None.
- For .gif files, specify the number of times you want to play the animation in the Number of Loops box. The default (0) loops indefinitely.
- Click OK.
The Select file for Animation file output window appears.

The Animation Options window appears.

The animation is exported to the specified format.
