
Apply an Orientation to the Current View
Apply view orientation settings using any one of several available methods:
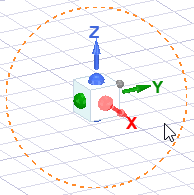
- Use the Orientation Gadget:
- Use the commands in the Orient drop-down menu located on the View, Draw, or Model ribbon tabs:
- Right-click in the Modeler window. In the shortcut menu that appears, go to the View > Apply Orientation submenu:
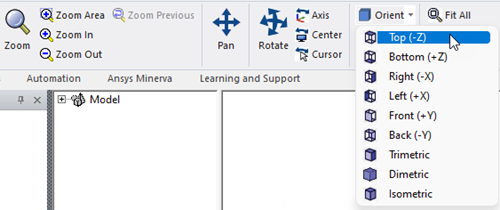
Possible orientations are Top, Bottom, Right, Left, Front, Back, Trimetric, Dimetric, and Isometric. These last three differ as shown below:

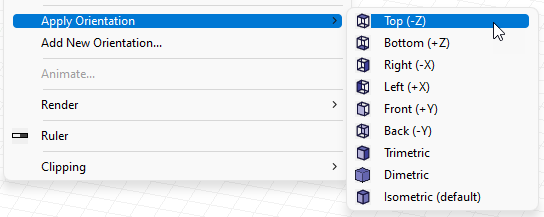
In addition to the standard views, any custom views that you have defined will appear in this submenu.
After applying an orientation, you can click View > Undo View : orientation.
You can also right-click in the Modeler window and choose View > Add New Orientation to create a custom viewpoint.
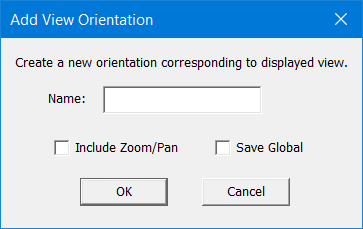
The Name that you assign will appear in the View > Apply Orientation submenu within the Modeler window's shortcut menu. You can specify whether to Include Zoom/Pan (in addition to the viewpoint orientation) and whether to Save Global, which makes the custom orientation available for all projects.