
Adding a Field Plot Marker
To add one or more field plot markers to a scalar field:
- On the main menu click Maxwell 3D or Maxwell 2D and then select Fields > Fields > Marker > AddMarker. Alternatively, you can right-click anywhere in the modeler window, or on the Field Overlays folder icon in the Project Manager, and select Fields > Marker > AddMarker.
- Drag the dot over the spot on the field
overlay plot where you want to add a marker. The Measure Data dialog
shows detailed information for the spot currently under the dot.
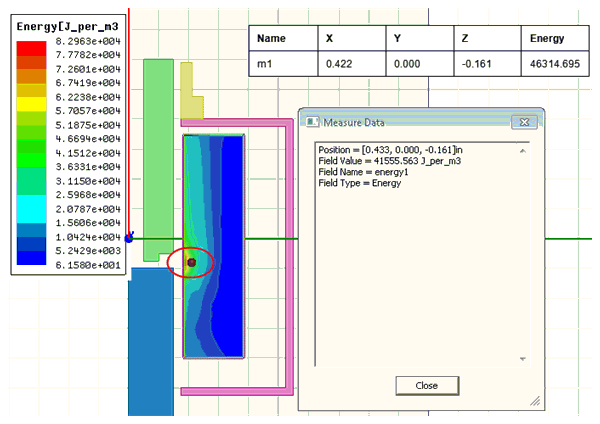
- Click the desired point in
the field overlay plot to add the marker at that location. Alternatively
you can select the position of the marker by entering the values manually
in the edit fields at the bottom of the window as shown below.

- Repeat as desired to add additional markers.
- Press the Esc key when finished adding markers.
The Measure Data dialog box opens and a round dot appears at the tip of the cursor.
A table showing the marker coordinates and associated field value is also created and added to the modeler window.