
Drawing a Torus
Draw a torus by selecting its center point, major radius, and minor radius. The modeler then sweeps a circle around a circular path. A torus is drawn as true surfaces in the modeler. Before you draw a torus, you can specify the coordinate system, and you can set the drawing plane as Z, Y, or Z, or you can edit the plane in the properties.
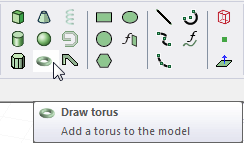
- From the menu bar, click Draw>
 Torus or, on the Draw ribbon tab, click the Draw torus icon:
- Select the center point of the torus in one of the following ways:
- Click the point.
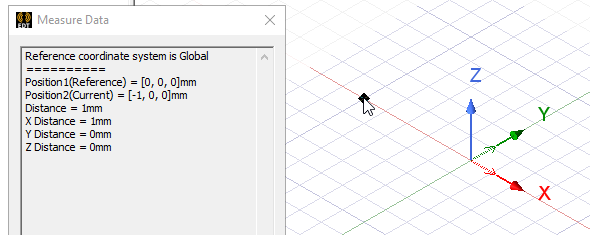
- Type the point's coordinates in the text boxes in the status bar.

The Status bar also includes options to specify the Coordinate System as Absolute or Relative, and drop down menu options to specify the torus in Cartesian, Cylindrical, or Spherical coordinates.
- Click the point.
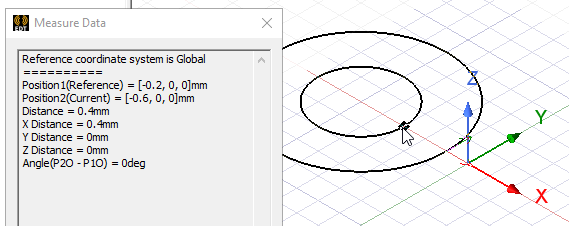
- Specify the major radius by selecting a point in one of the following ways:
- Click the point.

- Type the coordinates of the point relative to the center point in the dX, dY, and dZ boxes, where d is the distance from the previously selected point.
The major radius determines the diameter of the torus.
- Click the point.
- Specify the minor radius by selecting a point relative to the major radius point.
The minor radius determines the diameter of the "donut hole".
If the Modeler option for editing properties of new primitives is checked, the Properties dialog box appears, enabling you to modify the object's properties.
- Double-click or right-click to open the shortcut menu and click Done. The torus appears in the Modeler window and in the History Tree.

- If the Modeler option for editing properties of new primitives is checked, the Properties dialog box appears, enabling you to modify the object's properties. Click OK.