
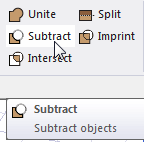
Subtracting Objects
- Select the object from which you want to subtract other objects.
- Hold down the Ctrl key and select the objects you want to subtract.
- From the menu bar, click Modeler> Boolean> Subtract or, on the Draw ribbon tab, click the Subtract icon:
The Subtract dialog box appears.
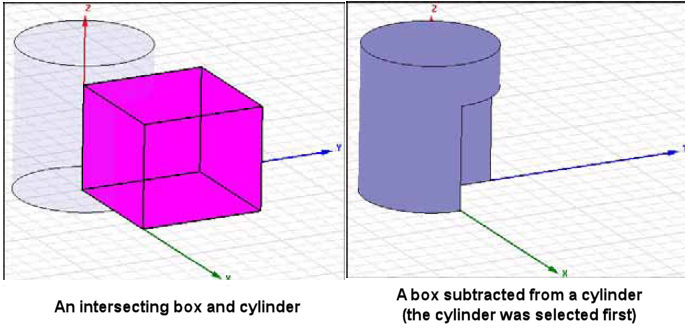
Objects listed in the Tool Parts list will be subtracted from the object or objects listed in the Blank Parts list.
- Optionally, select an object name in either list and use the left and right arrow buttons to move the object name to the opposite list.
Though you can type the name of objects into either list, you cannot access the Subtract command unless you first select two or more model objects. Therefore, the lists will initially be populated with the selected objects.
- Optionally, select Clone tool objects before subtracting. This option instructs Ansys Electronics Desktop to keep a copy of the original objects being subtracted.
- Click OK.
The revised Blank Parts retain their original name, color, and material.
Note:
By default, the Tool Parts (that is, the objects being subtracted from the Blank Parts) are not preserved for later use. If you want to keep a copy of the objects being subtracted from the blank parts, do one of the following:
- In the Subtract dialog box, select Clone tool objects before subtracting, as stated in step 5 above. This action is a one-time override of the defdefault behavior.
- In the 3D Modeler> Operation section of the General Options, select Clone tool objects before subtracting. This option instructs Ansys Electronics Desktop to always (that is, by default) keep a copy of the original objects being subtracted.