2D Phase Animation
- To prepare for phase animation, you must select the base frequency.
- For surface current and far field overlays, expand
the Results icon in the Project Manager window, right-click the overlay,
and select Frequency on the menu. The Frequencies window
opens:
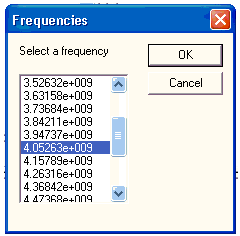
The list displays the frequencies that are swept in the analysis. Select a frequency on the list; the overlay displays the field values calculated at that frequency. Click OK to leave the overlay at the selected frequency.
- For near field overlays, expand the Results
icon in the Project Manager window, right-click the overlay, and select Properties
on the menu. Click the Quantities tab to select a reference frequency
for the phase animation:
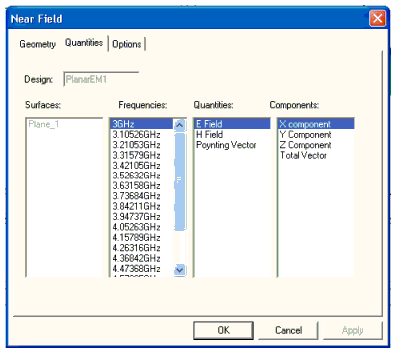
Click OK to apply the frequency and close the window.
- To initiate the animation of the overlay that is currently displayed, do one of the following:
- Select Animate on the View menu.
- Expand the Results icon in the Project window, right-click the overlay entry, and select Animate from the menu.
- If no animations have been defined previously,
the Setup Animation window opens:
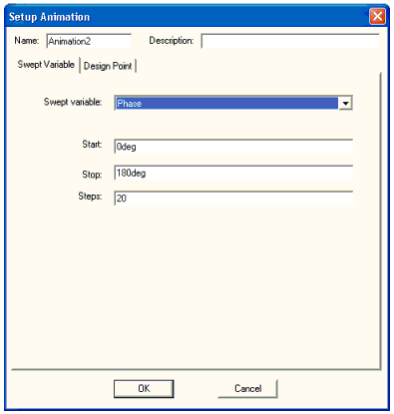
- Specify a name in the Name field (or accept the default, Animationn, where n is a numeral). Optionally, enter a description.
- For a frequency animation, select Phase as the Swept Variable.
- Select the Start and Stop phases in degrees.
- Click OK.
If one or more animations have been defined, selecting Animate from one of the menus opens the Select Animation window:
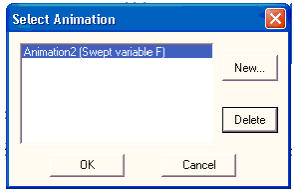
The Select Animation window provides the following operations:
- Click to select one of the animations and click OK to start that animation.
- Click New to open the Setup Animation window described above, and close the Select Animation window.
- Select an animation and click Delete to delete the definition.
- Electronics Desktop calculates the frame
data. If the Progress window is displayed, monitor the progress
of the calculation. When the frames have been calculated, the animation
begins and the Animation control window opens:
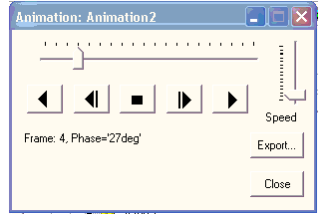
- Click the playback buttons to play the animation. From left to right, the buttons are Reverse, FastReverse, Stop, Fast Forward, and Forward. The indicator at the top of the window shows the progress of the animation. Click the Speed slider to control the speed of the animation.
- To export the frame data to a file, click Export.
The Export File window opens:
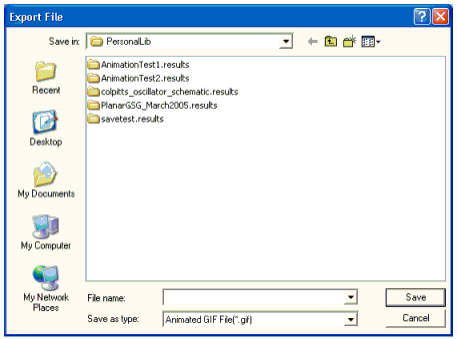
Specify the directory and file name. Click the Save as type menu to select the file format (Animated GIF or AVI). Click Save to save the data and close the window.
- Click Close on the Animation control window to stop the animation and close the window.
