Setting Up a Transient Analysis in HFSS 3D Layout
Complete these steps to setup a Nexxim transient analysis.
-
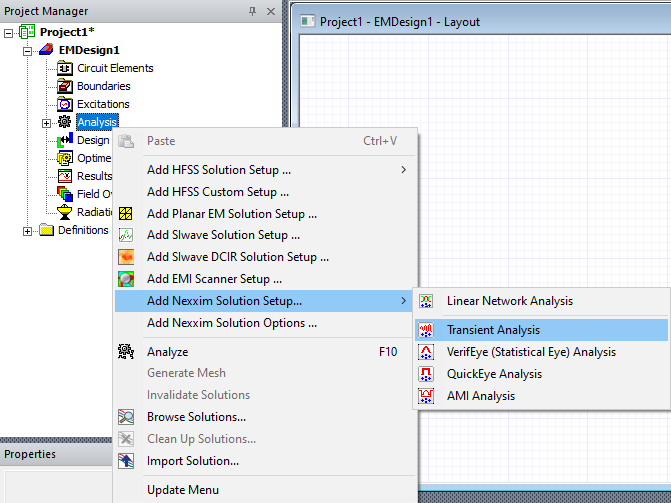
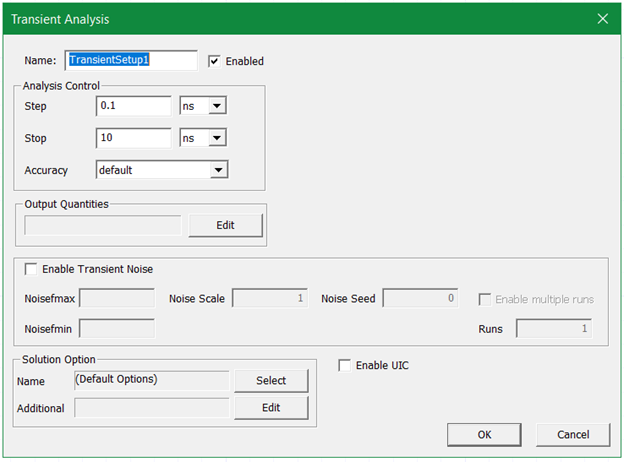
From the Project Manager window, expand the Project Tree and [Active Design Folder]. Then right-click Analysis > Add Nexxim Solution Setup > Transient Analysis to open the Transient Analysis window.
-
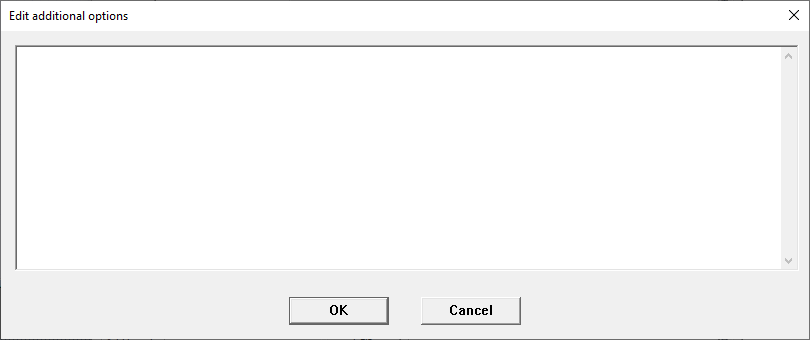
To add additional Transient setup options, click Edit in the Solution Option area to open the Edit additional options window. Enter additional options in the field, then click OK to close the window.
-
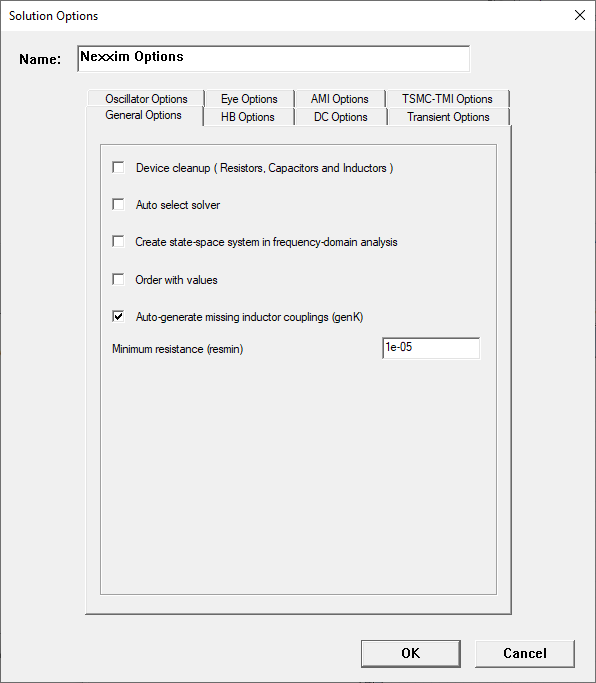
To add additional solution options, return to the active design in the Project Manager window and right-click Analysis. Then select Add Nexxim Solution Options to open the Solution Optionswindow and select options on the eight tabs of choices in the window. Click OK to close the window.
For more information about the Transient Analysis setup window, additional options, and solutions, refer to Running Transient Analysis on the Schematic Editor.
-
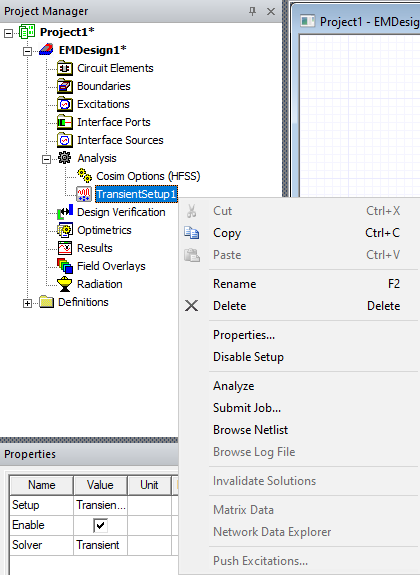
After the Transient analysis is set up, a TransientSetup icon will appear in the expanded Analysis folder. To netlist the TransientSetup, right-click the setup icon and select Browse netlist. To start a Nexxim Transient simulation, right click the setup icon and select Analyze.
