


Parameters of an Ambient Source with Environment Type
Zenith
To set the zenith orientation, you must click a line in the graphics area.
You can click Reverse direction to reverse the direction.
Properties
To set the North direction, click a line in the graphics area. You can click Reverse direction to reverse the direction.
The north is represented with a white arrow.
You can set a luminance value in the Luminance box.
This value usually varies in the 1000 - 20000 cd/m² range.
Pixels having (1, 1, 1) as values have the luminance defined in the panel. (1,1,1,) means HDRI's RGB value. This (1, 1, 1) is the floating point representation of the reference white color corresponding to the user defined luminance of the environment map.
From the Type list, you must select a file or an environment.
If you select Image File or HDRIFile, you must browse an associated file. You also can edit the file by clicking Edit....
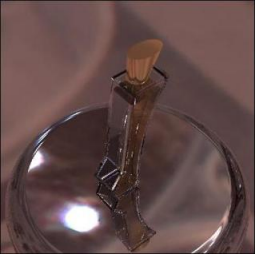
The ground plane is only available for ambient source with environment type in HDRI.
-
In the Ground Plane Origin box, you must click a point in the graphics area.
The plane is defined by a point and a normal, this one is automatically the zenith direction.
The HDR image is displayed on the ground plane. Thus, the ground plane acts like a textured geometry that can reflect/absorb light from other sources.
You can set a value in the Height box.
The height corresponds to the height of the view compared to the plan.
-
 |
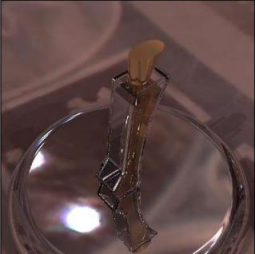 |
| Without a ground plane | With a ground plane |
Spectrum
From the Color Space drop-down list, select which color space based model to use according to your needs and to the image file's own color space :
Select sRGB to use the standard and most commonly used RGB based model.
Select Adobe RGB to use a larger gamut.
Select User Defined RGB to manually define the white point of the standard illuminant. From the White Point drop-down list:
Select D65 to use a standard daylight illuminant that provides accurate color perception and evaluation.
Select D50 to use a natural, horizon light.
Select C to use an average daylight illuminant.
Select E to use an illuminant that gives equal weight to all wavelengths.
Select User defined if you want to edit the Color Coordinates of the white point (the reference point of the model).
For more information about color models and white points of standard illuminants, see Colorimetric illuminants.
If you selected User Defined RGB from the Color Space drop-down list, browse a .spectrum file for each primary color.
If you want to modify or create a .spectrum file, click Edit... to open the Spectrum Editor.
You can also download spectrum files from the Optical Library.